Introduction
Capture customer support requests from your website and route them to Salesforce effortlessly with Web-to-Case. This powerful feature lets you create custom forms to collect data and automatically generate up to 5,000 new case records daily, boosting response times and productivity.
In this guide, you’ll learn how Web-to-Case works, its benefits, and step-by-step instructions to set it up, whether you’re new to Salesforce or managing a large support team.
Setting Up Web to Case in Salesforce
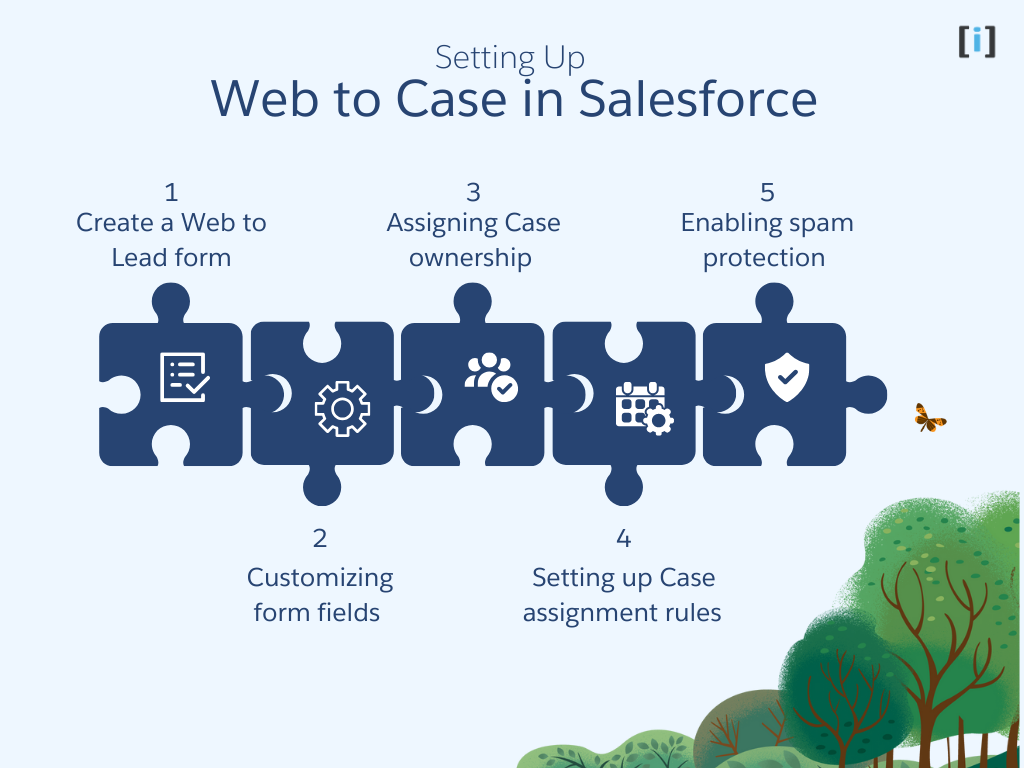
To get started with Web to Case, you’ll need to create a Case capture form and configure it to work with Salesforce. Here are the steps you’ll need to follow:
Create a Web to Case form
Web to Case allow users to create a simple public case submission page on their org website with their own branding and styling. The HTML form that create in Web to case can be easily published on the organisation website.
For allow the cases to be submitted through the website, First user’s need to enable it from setup and then they need to create a web form. While user generating the web form they can specify the fields that they would like to capture from customers form submission.
How to create web to case in salesforce
Total Time: 10 minutes
Go to Setup

Click on the “Setup” gear icon in the top right corner of your Salesforce dashboard. Which lead you to the Main Home page of Salesforce.
Enable Web-to-Case

Enter “web-to-Case” into the Quick Find search field in the setup menu. Select “Web-to-Case” from the list of options that appear
This will direct you to the “Web-to-Case Settings” page, where you can Enable Web-to-Case by configuring Basic Settings and also can configure Auto-Response Email Settings.
Generate Web-to-Case HTML Form

Enter “Web-to-Case” into the Quick Find search field in the setup menu. Select “Web-to-Case HTML Generato” from the list of options. To modify your form, follow the instructions. You can add or remove fields, rearrange their order, or alter their contents.
Give a URL for the return page.
After you’ve completed modifying your form, click the “Generate” button to start creating the web form’s HTML code.
Configure HTML Code

Once you’ve done this, you will see a short piece of HTML code.
Copy and paste the HTML code into your website. Remember, you can edit the CSS of this code if you need to.
Save HTML File

Save the generated HTML code to a notepad or any text editor, then save the file with a .html extension for later use. (This code can be embedded into a website.)
Fill The Information

Open the HTML file in a browser, fill in all the required details, and click Submit. Upon submission, a case record will be automatically created in Salesforce.
Navigate to Cases
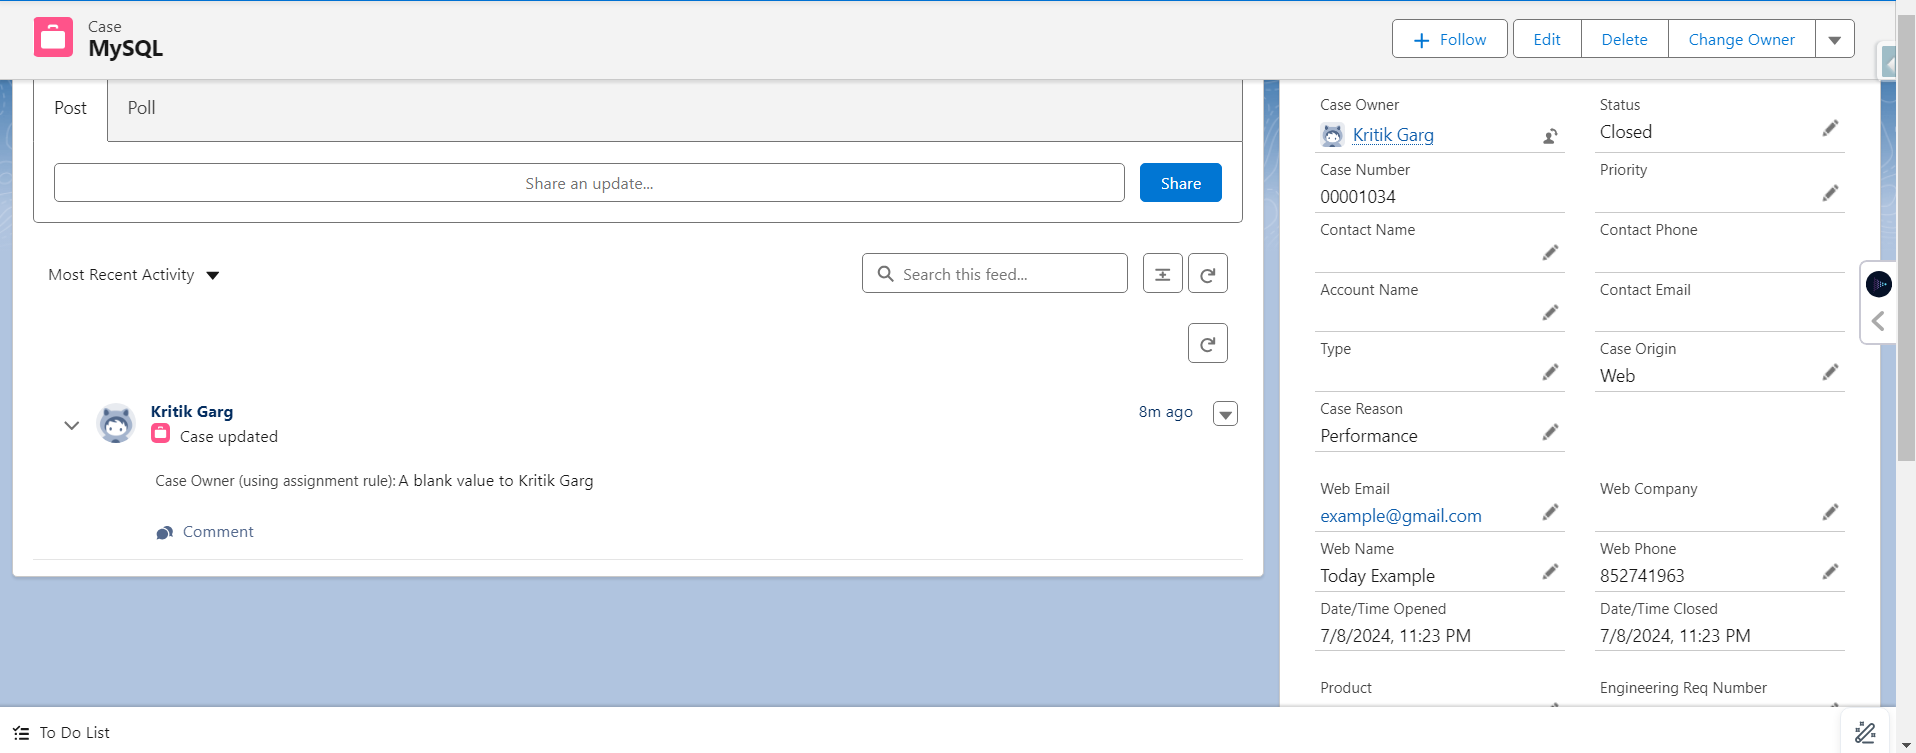
After submitting the Form, find out if a new record has been created in the instance, visit the “Cases” page.
Customizing form fields
Once you’ve created your Web-to-Case form, you can customize the form fields to collect the information needed for customer support. You can add, remove, and reorder fields as needed, and you can also specify which fields are required and which are optional directly in HTML.
Assigning Case ownership
In Salesforce, cases are typically assigned to a specific support agent or team for resolution. To ensure that your cases are routed to the right people, you’ll need to specify the default case owner for your Web-to-Case form. You can also set up rules to automatically assign cases based on criteria such as priority, case type, or support level. Check out details how to setup Assignment Rules.
Setting up Case assignment rules
In addition to assigning cases to default owners, you can also set up case assignment rules that will automatically route cases to the appropriate support agents based on predefined criteria. For example, you could create a rule that assigns high-priority cases to senior support agents or routes product-specific issues to specialized teams.
Enabling spam protection

To prevent spam and invalid submissions, Salesforce includes built-in protection for Web-to-Case forms. You can configure this feature to block submissions from suspicious sources and to require users to pass a CAPTCHA test before submitting their support request.
What Next After creating Web-to-Case Form?
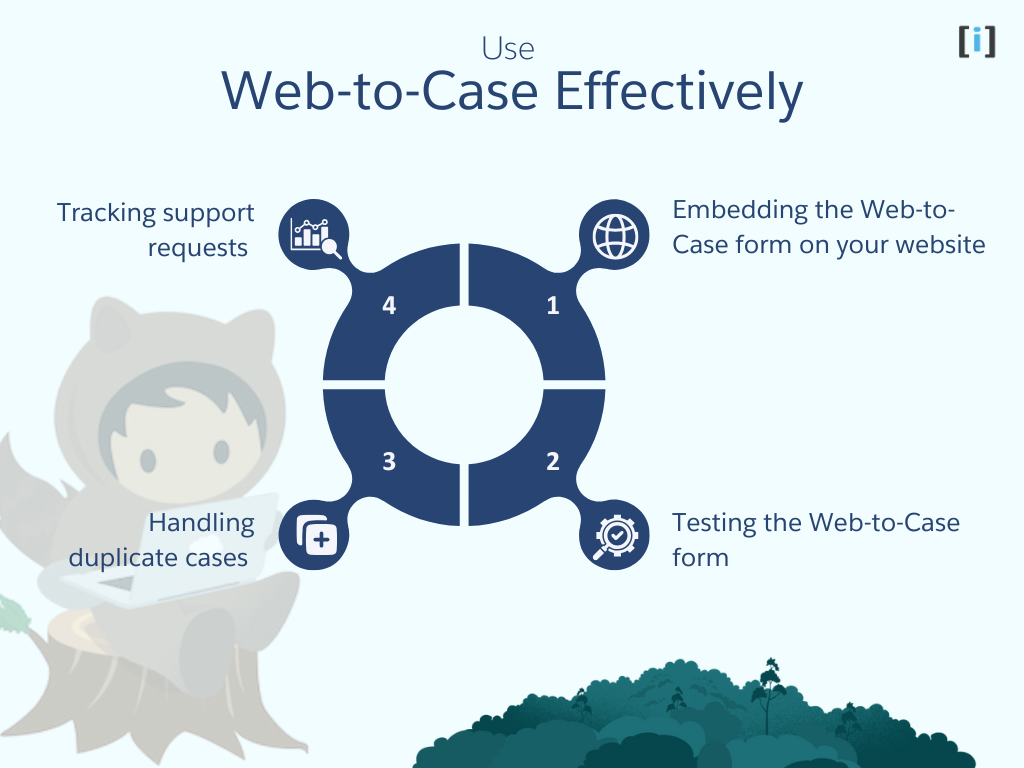
Once you’ve set up your Web-to-Case form in Salesforce, you’re ready to start capturing support requests from your website. Here’s how to use Web-to-Case effectively:
Embedding the Web-to-Case form on your website
To start capturing cases, you’ll need to embed the Web-to-Case form on your website. You can do this by copying and pasting the HTML code generated by Salesforce into your website’s code.
Testing the Web-to-Case form
Before going live, it’s important to test your Web-to-Case form to ensure it’s working correctly. Submit test cases through the form and verify that they’re being captured and routed to Salesforce as expected.
Handling duplicate cases
To maintain clean records, you can configure Web-to-Case to check for existing cases before creating new ones. This helps prevent duplicate cases for the same issue and ensures better case tracking.
Tracking support requests
You can use Salesforce reports and dashboards to track your customer support metrics. This helps you measure the effectiveness of your Web-to-Case form and monitor support team performance.
Tips to Use Web-to-Case Effectively
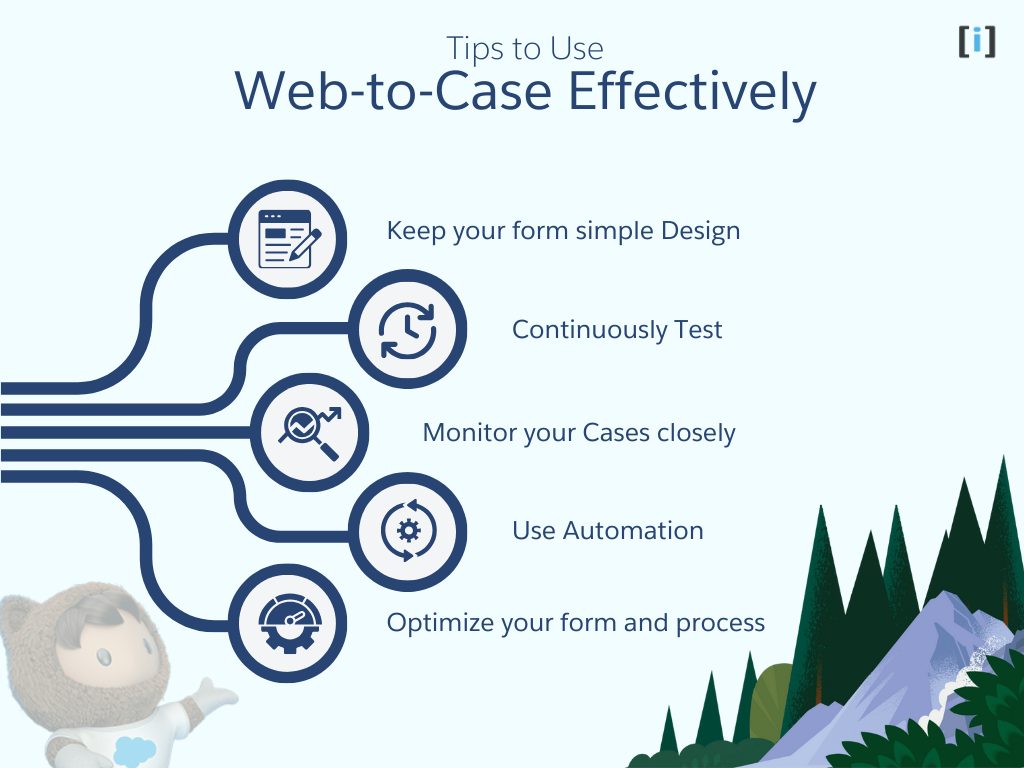
Here are key tips for maximizing Web-to-Case:
Keep your form simple Design
your Web-to-Case form to be as simple as possible. Include only essential fields that help understand the customer’s issue. Clear labels and easy-to-fill fields improve submission rates.
Continuously Test
your Web-to-Case form to ensure it works properly. Regular testing helps identify and fix issues before they affect customer support.
Monitor your Cases closely
incoming cases carefully and ensure timely responses. Set up notifications for new cases and establish a system for prioritizing and assigning cases based on urgency and type.
Use Automation
Implement automation to handle routine tasks. Set up automated case routing, email responses for new cases, or use escalation rules for high-priority issues.
Optimize your form and process
Regularly improve your Web-to-Case form and support process based on data and feedback. Use analytics to track form performance and gather input from your support team to refine the process.
How to make form Look better
Enhance your form’s appearance with CSS styling. Here is the Sample Code:
<style>
    body {
        font-family: Arial, sans-serif;
        background-color: #f5f7fa;
        margin: 0;
        padding: 20px;
    }

    .form-container {
        max-width: 600px;
        margin: 30px auto;
        background: #ffffff;
        padding: 30px;
        border-radius: 10px;
        box-shadow: 0 2px 15px rgba(0, 0, 0, 0.1);
    }

    form {
        display: flex;
        flex-direction: column;
        gap: 20px;
    }

    label {
        font-weight: 600;
        color: #2c3e50;
        font-size: 14px;
        margin-bottom: 5px;
        display: block;
    }

    input[type="text"],
    input[type="email"] {
        width: 100%;
        padding: 12px;
        border: 1px solid #dde1e7;
        border-radius: 6px;
        font-size: 14px;
        box-sizing: border-box;
        transition: border-color 0.3s ease;
    }

    input[type="text"]:focus,
    input[type="email"]:focus {
        outline: none;
        border-color: #3498db;
        box-shadow: 0 0 5px rgba(52, 152, 219, 0.2);
    }

    input[type="submit"] {
        background-color: #3498db;
        color: white;
        padding: 14px 24px;
        border: none;
        border-radius: 6px;
        cursor: pointer;
        font-size: 16px;
        font-weight: 600;
        transition: background-color 0.3s ease;
        margin-top: 10px;
    }

    input[type="submit"]:hover {
        background-color: #2980b9;
    }

    #description {
        height: 100px;
    }

    /* Add a required field indicator */
    label::after {
        content: "*";
        color: #e74c3c;
        margin-left: 4px;
    }

    /* Error state */
    input:invalid {
        border-color: #e74c3c;
    }

    /* Responsive design */
    @media (max-width: 768px) {
        .form-container {
            margin: 10px;
            padding: 20px;
        }

        input[type="submit"] {
            width: 100%;
        }
    }

    /* Optional: Add a form header */
    .form-container::before {
        content: "Submit a Support Request";
        display: block;
        font-size: 24px;
        font-weight: bold;
        color: #2c3e50;
        margin-bottom: 30px;
        text-align: center;
    }

    /* Optional: Add hover effect on inputs */
    input[type="text"]:hover,
    input[type="email"]:hover {
        border-color: #bdc3c7;
    }

    /* Optional: Style placeholder text */
    ::placeholder {
        color: #95a5a6;
        opacity: 0.7;
    }
</style>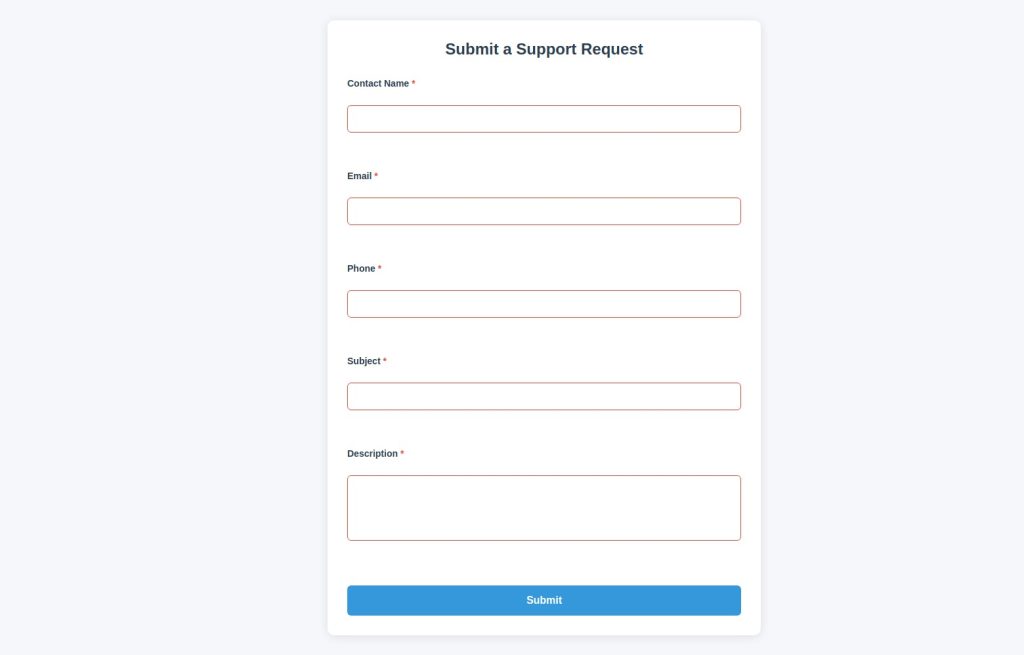
Also, checkout Web-to-Case Form Builder tool to create and customize your Web-to-Case form.
Considerations for Creating Cases with Web-to-Case
Field Validation
Salesforce first runs field validation rules on the submitted data. If a field value is invalid, the case will not be created.
Required Fields
All required fields must have values before a case can be generated.
Rich Text Area Fields
Salesforce does not support rich text area fields on Web-to-Case forms.
Email Address Matching
If the entered email address matches a Contact in the organization, the case is automatically associated with that Contact and the Account linked to it.
If no match is found or if multiple Contacts share the same email address:
- The Contact and Account fields on the case remain blank.
- Users can manually populate these fields later.
Daily Limits
Web-to-Case can generate up to 5,000 cases per day.
Conclusion
Web-to-Case is a powerful Salesforce feature for capturing and managing customer support requests directly from your website. By enabling Web-to-Case, generating a customized form, and embedding it on your site, you can streamline your support process and improve customer satisfaction. Using features like case assignment rules, spam protection, and automation ensures your support team operates efficiently while delivering timely resolutions.
FAQs
What happens if I exceed the daily Web-to-Case limit?
If your submissions exceed the daily limit of 5,000 cases, additional cases will not be created. Consider increasing your limit by contacting Salesforce support or managing your submission volume with custom logic.
Can I use rich text area fields in the form?
No, Salesforce does not support rich text area fields in Web-to-Case forms. Use plain text fields instead.
How do I handle duplicate cases?
You can configure Web-to-Case to check for existing cases before creating new ones, reducing duplicate entries and maintaining clean records.
Can I route cases to different teams or agents?
Yes, you can set up case assignment rules to automatically route cases based on criteria such as priority, type, or product.
What happens if an email address matches multiple Contacts?
If multiple Contacts share the same email address, Salesforce leaves the Contact and Account fields blank on the case, allowing users to populate them manually.
