Introduction
If you are looking to capture leads from your website and automatically route them to Salesforce, then Web to Lead is the feature for you. With Web-to-Lead, you can create a custom lead capture form that integrates with Salesforce, allowing you to collect lead data and automatically create a new lead record in your Salesforce account.
Web to Lead is a powerful feature for businesses that want to streamline their lead generation process and ensure that every lead is captured and followed up on in a timely manner. By automating the lead capture process, you can save time and resources while also improving your conversion rates.
In the following sections, we’ll explore how Web-to-Lead works, how to set it up in Salesforce, best practices for using it effectively, and more. Whether you’re new to Salesforce or a seasoned user, this guide will provide you with the knowledge and skills you need to succeed with Web to Lead.
Setting Up Web to Lead in Salesforce
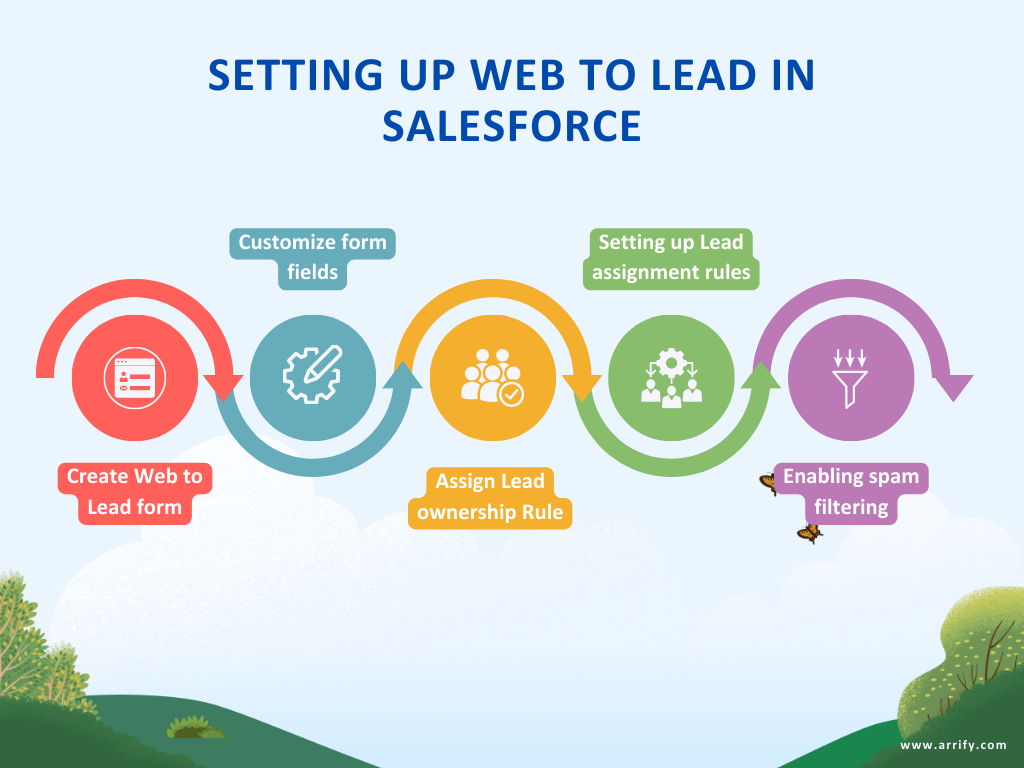
To get started with Web to Lead, you’ll need to create a lead capture form and configure it to work with Salesforce. Here are the steps you’ll need to follow:
Creating a Web to Lead form
The first step is to create a Web to Lead form that will capture lead data from your website. In Salesforce, navigate to the Lead section and click on the Web-to-Lead option in the left-hand menu. Here, you can create a new Web to Lead form by selecting the fields you want to include in your form and generating the HTML code to embed the form on your website. Learn more about how to create web to lead form in salesforce.
Open Setup

Click on the “Setup” gear icon in the top right corner of your Salesforce dashboard. Which lead you to the Main Home page of Salesforce.
Open WEB-to-LEAD

Enter “web-to-lead” into the Quick Find search field in the setup menu. Select “Web-to-Lead” from the list of options that appear.
This will direct you to the setup page for your web-to-lead forms, where you can set them up and personalise them.
Create New WEB-to-LEAD Form

The “Create Web-to-Lead Form” button should be clicked.
To modify your form, follow the instructions. You can add or remove fields, rearrange their order, or alter their contents.
Give a URL for the return page.
After you’ve completed modifying your form, click the “Generate” button to start creating the web form’s HTML code.
Open File in Web Browser

Once you’ve done this, you will see a short piece of HTML code.
Copy and paste the HTML code into your website. Remember, you can edit the CSS of this code if you need to.
Once this is done, whenever a user submits a form, a lead record will be created in Salesforce with the lead source ‘web’.
You can look for the record in question in the relevant database or system to confirm that it was correctly created using a web form. To find out if a new record has been created in the instance, visit the “Leads” page.
Salesforce Web to Lead Recaptcha
First, we need to create reCAPTCHA API keys for our website. To do this click here to open Google’s reCAPTCHA site.
step 1: Create WEB-TO-LEAD using reCaptcha

Click the ” Create Web-To-Lead ” button to create a new form.
Then Select the reCaptcha API Key Section, give the “Site key” and “Secret key” and save the details.
Then Click the Generate button, Copy the HTML code to the HTML file and run it in localhost.
Step 2: Run Code in Localhost

Run the Code in LocalHost. After running the code you will see a form which you have to fill and Check the Checkbox and Submit it.
Step 3: New Lead is Created

After submitting the Form, Open the Org and Verify that a new lead is created.
Customizing form fields
Once you’ve created your Web to Lead form, you can customize the form fields to collect the information that’s most relevant to your business. You can add, remove, and reorder fields as needed, and you can also specify which fields are required and which are optional directly in HTML.
Assigning Lead ownership
In Salesforce, leads are typically assigned to a specific user or team for follow-up. To ensure that your leads are routed to the right people, you’ll need to specify the default lead owner for your Web to Lead form. You can also set up rules to automatically assign leads based on criteria such as geography, industry, or other attributes. Check out details how to setup Assignment Rules.
Setting up Lead assignment rules
In addition to assigning leads based on default owners, you can also set up lead assignment rules that will automatically route leads to the right people based on predefined criteria. For example, you could create a rule that assigns leads from a specific industry to a particular sales rep.
Enabling spam filtering

To prevent spam and fraudulent submissions, Salesforce includes built-in spam filtering for Web to Lead forms. You can configure this feature to block submissions from known spam sources and to require users to pass a CAPTCHA test before submitting the form.
By following these steps, you can set up a Web to Lead form that will capture lead data from your website and route it to the right people in your organization for follow-up. In the next section, we’ll look at how to use Web to Lead for lead capture.
Learn more about Conver Lead in Salesforce
What to do After creating Web to Lead Form?
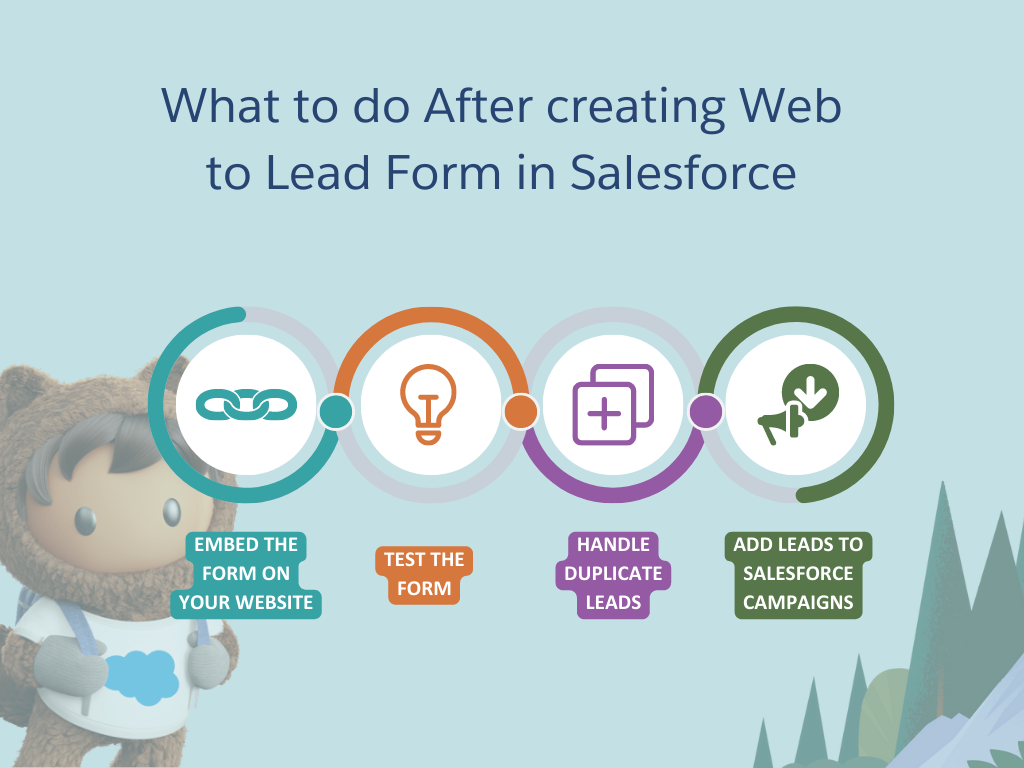
Once you’ve set up your Web to Lead form in Salesforce, you’re ready to start capturing leads from your website. Here’s how to use Web to Lead for lead capture:
Embedding the Web to Lead form on your website
To start capturing leads, you’ll need to embed the Web to Lead form on your website. You can do this by copying and pasting the HTML code generated by Salesforce into your website’s code.
Testing the Web to Lead form
Before you start promoting your Web to Lead form, it’s important to test it to make sure it’s working correctly. You can do this by submitting test leads through the form and verifying that they’re being captured and routed to Salesforce as expected.
Handling duplicate leads
One common issue with Web to Lead is the potential for duplicate leads. To avoid creating duplicate records in Salesforce, you can configure Web to Lead to check for existing leads before creating new ones. This will help ensure that each lead is only captured once.
Adding leads to Salesforce campaigns
If you’re using Salesforce campaigns to track your lead generation efforts, you can also add leads captured through Web to Lead to your campaigns. This will help you measure the effectiveness of your Web to Lead form and track your ROI.
If you wanna make it easy to collect leads and send them to the right team members, try using the Web to Lead form. We’ll give you some tips on how to use it effectively in the next section.
Best Practices for Using Web to Lead Effectively
To get the most out of Web to Lead, it’s important to follow best practices for lead capture and management. Here are some tips for using Web to Lead effectively:
Keep your form simple
When designing your Web to Lead form, it’s important to keep it as simple as possible. The more fields you include, the more likely users are to abandon the form or submit inaccurate information. Stick to the most essential fields and make sure they’re clearly labeled and easy to fill out.
Test your form regularly
Even after you’ve tested your Web to Lead form initially, it’s important to continue testing it on a regular basis. This will help you catch any issues or bugs before they impact your lead-generation efforts.
Monitor your leads closely
Once leads start flowing in through your Web to Lead form, it’s important to monitor them closely and follow up on them in a timely manner. Make sure your team is alerted to new leads as they come in, and set up a system for prioritizing and assigning leads based on their quality and potential.
Use automation where possible
To further streamline your lead generation process, consider using automation tools to handle repetitive or time-consuming tasks. For example, you could set up automated email responses for new leads or use lead-scoring tools to prioritize leads based on their level of engagement.
Continuously optimize your form and process
Finally, it’s important to continuously optimize your Web to Lead form and lead management process based on data and feedback. Use analytics tools to track the performance of your form and adjust it as needed to improve conversion rates. Solicit feedback from your team and your leads to identify areas for improvement and refine your process over time.
By following these best practices, you can use Web to Lead to capture and manage leads effectively, improving your conversion rates and maximizing the ROI of your lead generation efforts.
How to make form Look better
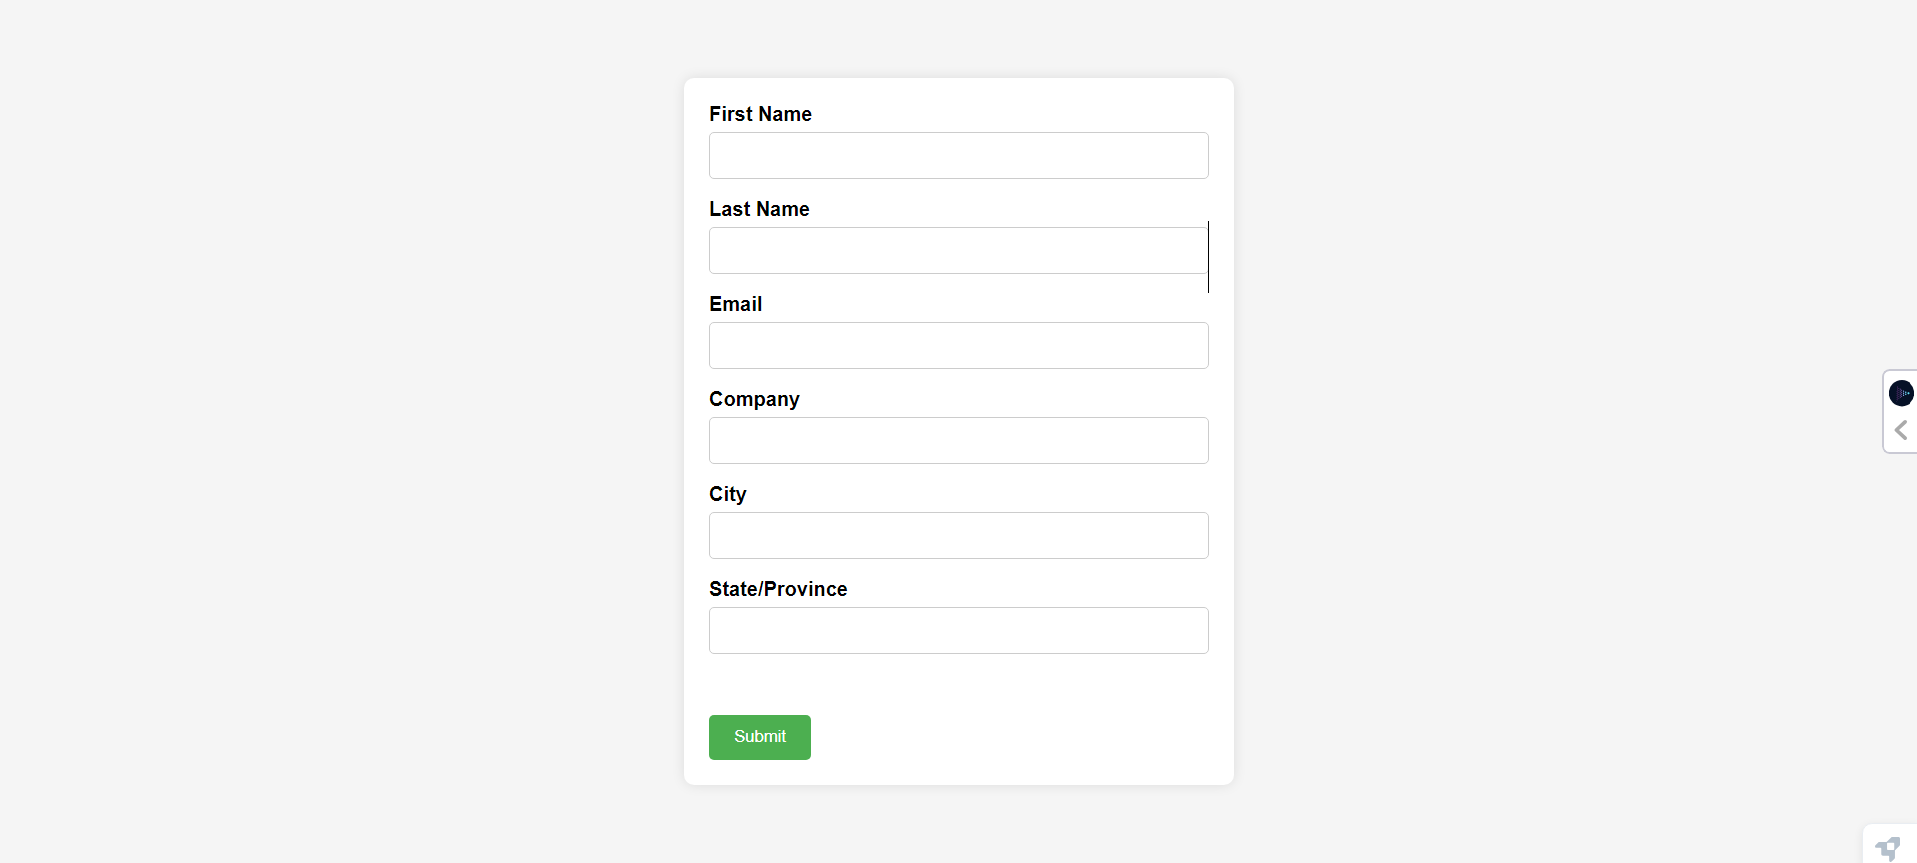
We can make the Form Look better by Adding CSS style to it. Here is the Sample Code:
<title>Contact Form</title>

<style>
body {
	font-family: Arial, sans-serif;
	background-color: #f5f5f5;
	margin: 0;
	padding: 0;
	display: flex;
	justify-content: center;
	align-items: center;
	height: 100vh;
}

.form-container {
	background-color: #fff;
	padding: 20px;
	border-radius: 8px;
	box-shadow: 0 0 10px rgba(0, 0, 0, 0.1);
	max-width: 400px;
	width: 100%;
}

label {
	font-weight: bold;
}

input[type="text"] {
	width: 100%;
	padding: 10px;
	margin: 5px 0 15px 0;
	border: 1px solid #ccc;
	border-radius: 4px;
	box-sizing: border-box;
}

.g-recaptcha {
	margin-bottom: 15px;
}

input[type="submit"] {
	background-color: #4caf50;
	color: white;
	padding: 10px 20px;
	border: none;
	border-radius: 4px;
	cursor: pointer;
}

input[type="submit"]:hover {
	background-color: #45a049;
}
</style>


<div class="form-container">
   <label for="first_name">First Name</label><br>
   <br>
   <label for="last_name">Last Name</label><br>
   <br>
   <label for="email">Email</label><br>
   <br>
   <label for="company">Company</label><br>
   <br>
   <label for="city">City</label><br>
   <br>
   <label for="state">State/Province</label><br>
   <br>
   <div class="g-recaptcha" data-sitekey="XXXXXXXXXXX-iTgIkv"></div>
   <br>
</div>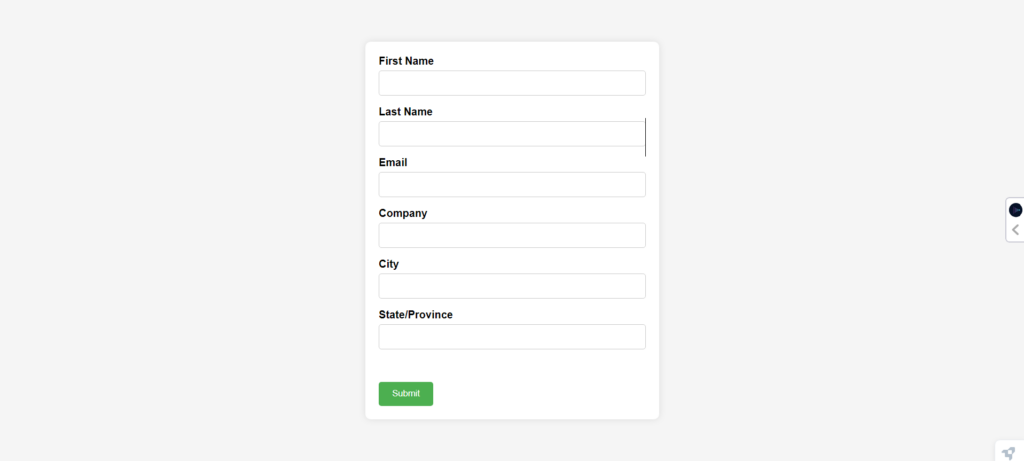
Conclusion
Web to Lead is a powerful tool for capturing leads from your website and routing them directly to Salesforce, streamlining your lead generation and management process. By setting up a Web to Lead form and following best practices for lead capture and management, you can improve your conversion rates, track your ROI, and streamline your sales process.
Remember to keep your form simple, test it regularly, monitor your leads closely, use automation where possible, and continuously optimize your form and process based on data and feedback. With these strategies in place, you can use Web to Lead to generate high-quality leads and grow your business.
If you haven’t already, consider exploring other Salesforce tools for lead generation and management, such as Marketing Cloud, Pardot, and Sales Cloud. With the right tools and strategies in place, you can create a streamlined and effective sales process that drives growth and success for your business.
FAQs
Do I need to hire a developer to set up Web to Lead in Salesforce?
No, you don’t necessarily need to hire a developer to set up Web to Lead in Salesforce. The setup process can be done through the Salesforce UI, and there are also many online resources and guides available to help you through the process.
How much does it cost to set up Web to Lead in Salesforce?
The cost of setting up Web to Lead in Salesforce depends on your specific needs and the level of customization required. If you’re using the basic Web to Lead functionality provided by Salesforce, there are no additional costs beyond your regular Salesforce subscription. However, if you need custom fields, validation rules, or other advanced features, there may be additional costs associated with development or consulting.
How do I embed the Web to Lead form on my website?
To embed the Web to Lead form on your website, you’ll need to copy the HTML code generated by Salesforce and paste it into your website’s code. This process will vary depending on your website platform and the specific tools you’re using, but there are many online resources and guides available to help you through the process.
How do I handle duplicate leads captured through Web to Lead?
To avoid creating duplicate leads in Salesforce, you can configure Web to Lead to check for existing leads before creating new ones. This will help ensure that each lead is only captured once. Additionally, you can use Salesforce’s built-in deduplication tools to identify and merge any duplicate leads that do slip through the cracks.
Can I customize the fields on my Web to Lead form?
Yes, you can customize the fields on your Web to Lead form to capture the specific information you need from your leads. Simply create custom fields in Salesforce and add them to the Web to Lead form using the Salesforce UI. You can also use validation rules and other features to ensure that the information submitted through the form is accurate and complete.
How do I track the performance of my Web to Lead form?
To track the performance of your Web to Lead form, you can use Salesforce’s built-in analytics tools, such as reports and dashboards. These tools will allow you to see how many leads are being captured through your form, how they’re converting, and how they’re progressing through your sales funnel. You can also use external analytics tools, such as Google Analytics, to track your form’s performance and measure the impact of your lead generation efforts.
What is the difference between web-to-lead and web-to-case in Salesforce?
1] Web-to-Lead:
Purpose: Web-to-Lead is primarily used for capturing leads generated from your website or online campaigns.
Record Type: When a user submits a form through the Web-to-Lead, Salesforce creates a new Lead record.
Typical Use Case: It’s commonly used in marketing scenarios where you want to capture potential customers’ information, such as their name, email, and company, from a website form.
2] Web-to-Case:
Purpose: Web-to-Case is used for capturing customer support inquiries or cases submitted through your website.
Record Type: When a user submits a form through the Web-to-Case feature, Salesforce creates a new Case record.
Typical Use Case: It’s often employed on support or contact pages of a website to allow customers to submit their issues or questions directly into Salesforce for tracking and resolution by support teams.
What data do Salesforce web-to-lead forms capture?
Salesforce web-to-lead forms capture key contact details like name, email, phone and company along with website interaction data such as IP address and referring URL. Additionally, they gather marketing source data to identify the origin of the lead, like a website, email, or social media platform. Custom fields can be added to collect more specific information, improving lead tracking and qualification processes.
