
Introduction
In Salesforce, the standard address field is a compound field that allows you to store and manage address information for records. It is called the “Address” field type and is commonly used in various standard and custom objects.
The Address field in Salesforce is a combination of multiple sub-fields that together represent a complete address. The sub-fields included in the standard Address field are:
- Street: This field is used to capture the street name and number of the address.
- City: It holds the name of the city or locality associated with the address.
- State/Province: This field is used to capture the name or code of the state or province where the address is located.
- ZIP/Postal Code: It represents the postal code or ZIP code of the address.
- Country: This field holds the name of the country associated with the address.
When you use the Address field in Salesforce, you can enter or retrieve data for each of these sub-fields individually, or you can work with the complete address as a single unit.
Address field is a standard field type in Salesforce, and it is available by default in many standard objects. Additionally, you can also create custom address fields in your custom objects if needed, using the same structure and sub-fields as the standard Address field.
Step-by-Step Guide to Configure & Enable Standard Address Fields
In this tutorial, we will illustrate the step-by-step process of configuring standard Address Fields in Salesforce.
Go to Setup
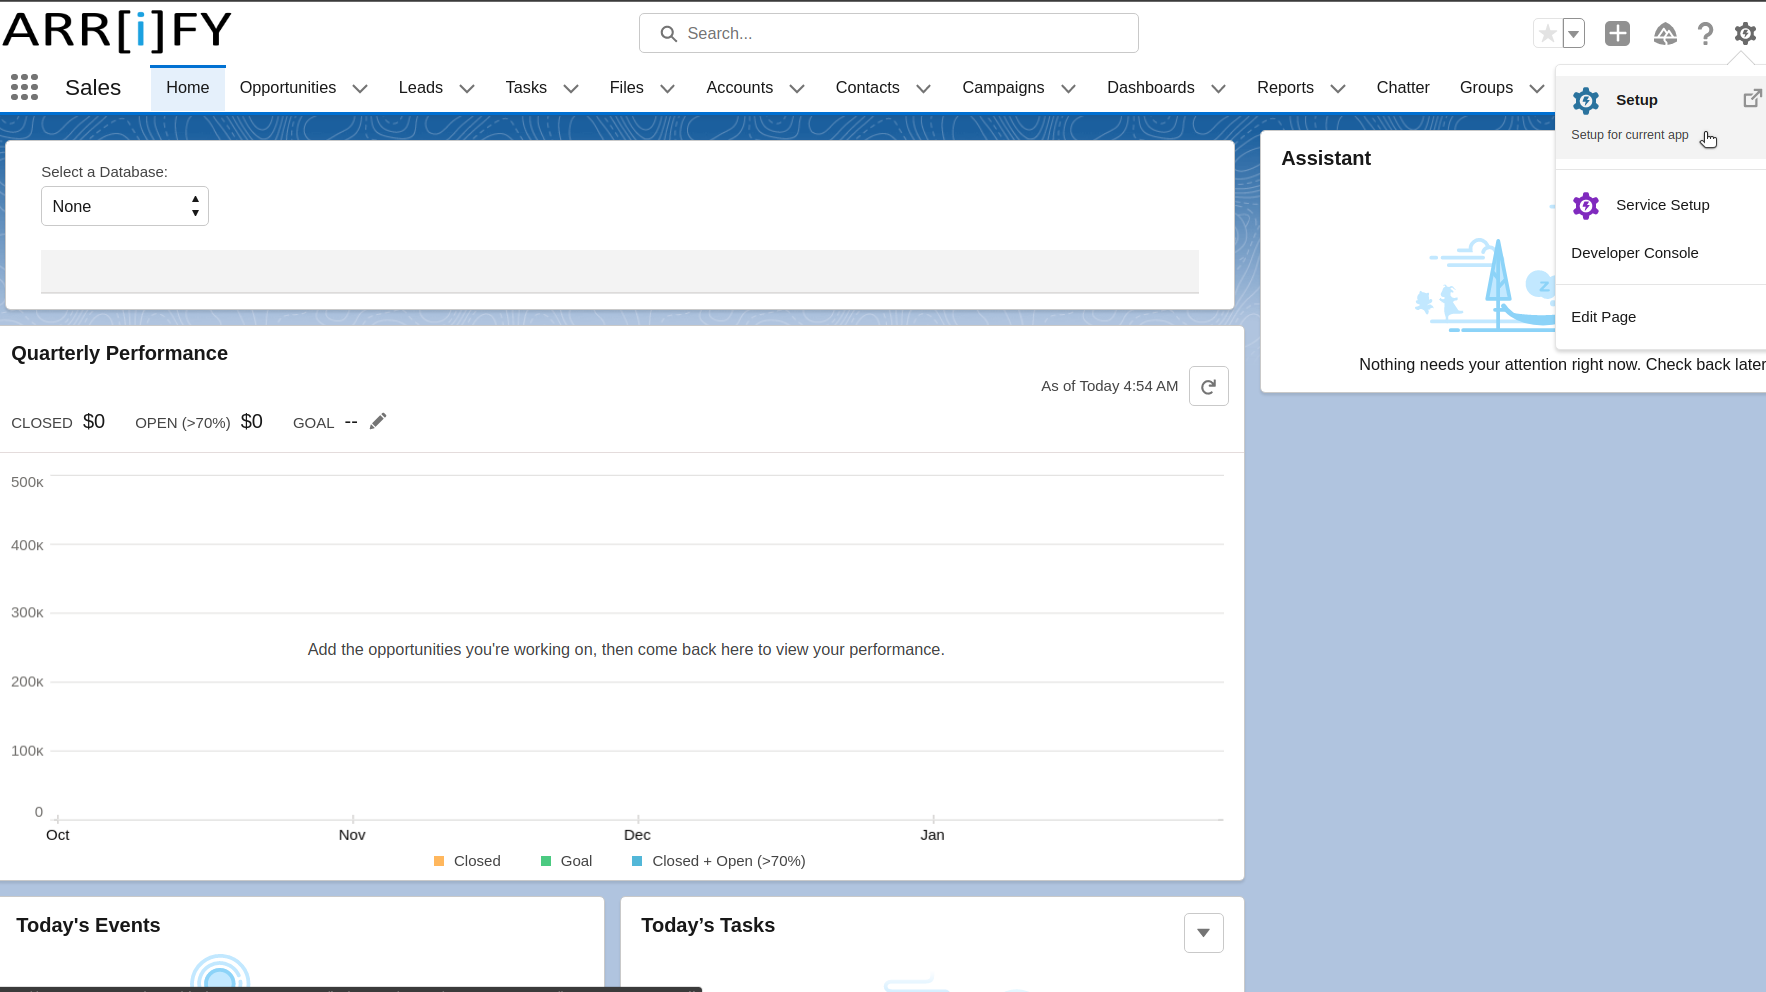
Go to the setup gear icon, then click on setup
Search State and Country/Territory
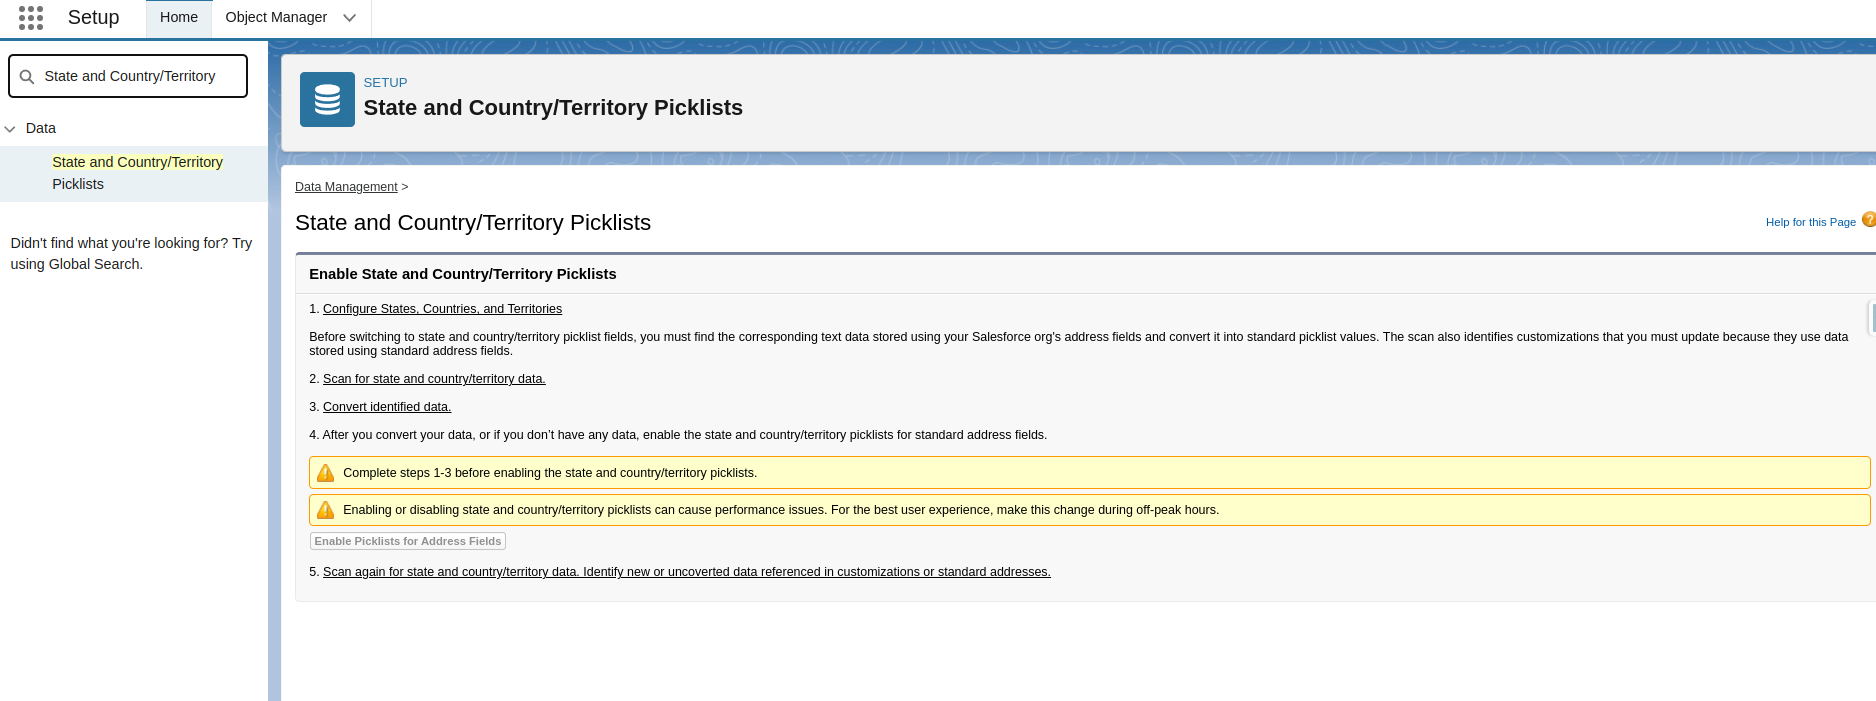
Search State and Country/Territory on the QuickFind box
You must complete steps 1-3 before enabling the state and country/territory picklists.
Select 1st step as Configure State, Country and Territory from Enable State and Country/Territory Picklists.
Configure Countries/Territories
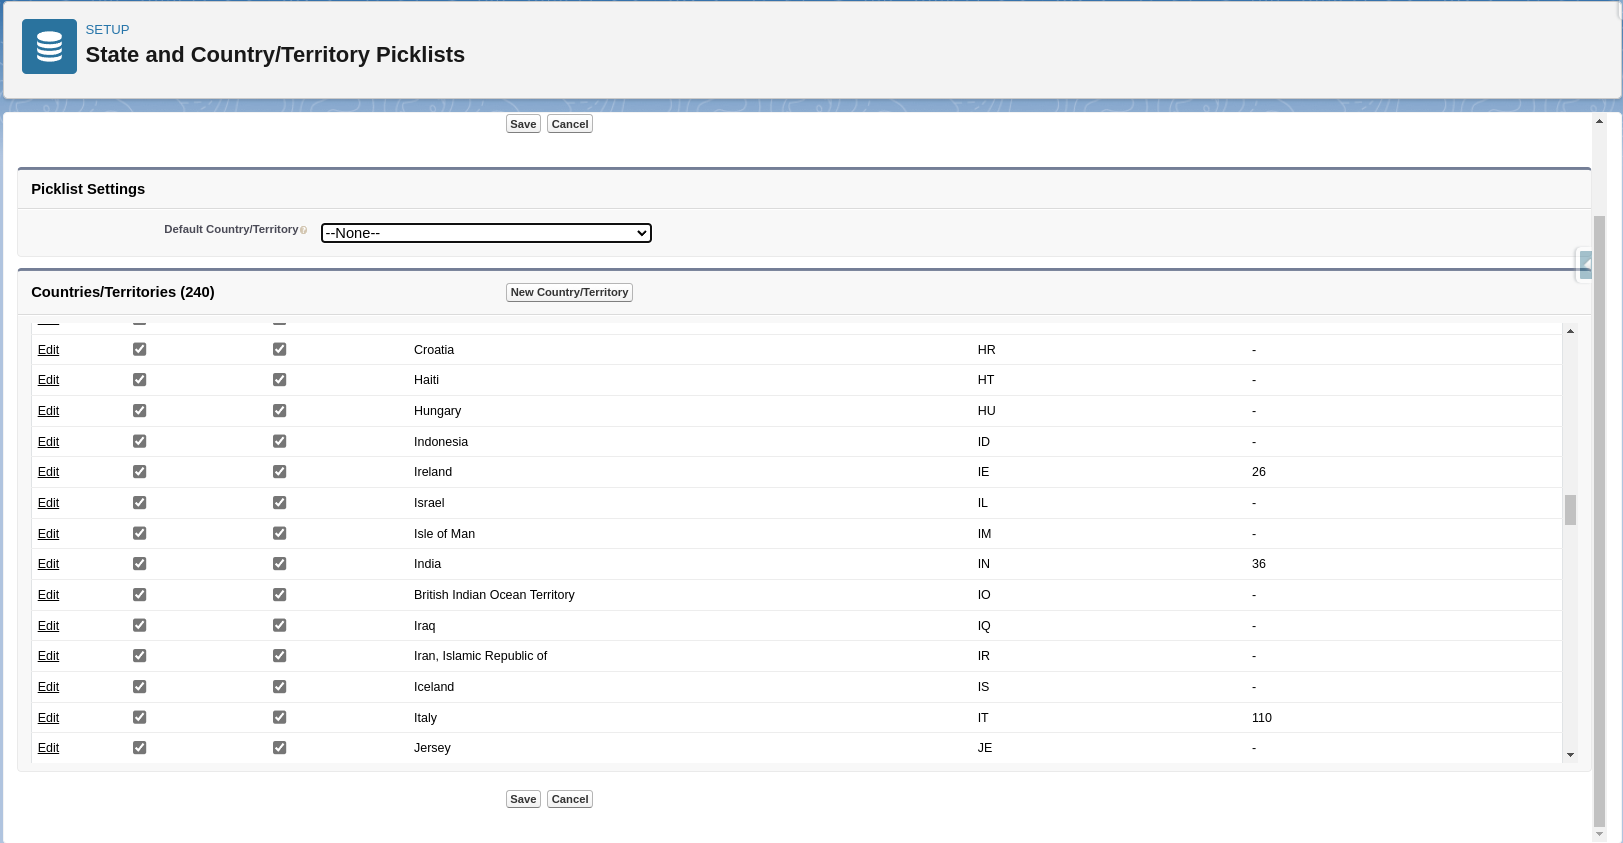
You can add new countries/territories or configure existing ones.
You can choose a default (if you like) and tick the relevant Countries/Territories to make them Active and Visible.
To add new, click on New countries/territories and click on Edit to configure existing countries/territories.
Here, we are clicking Edit to configure countries/territories.
Configure States
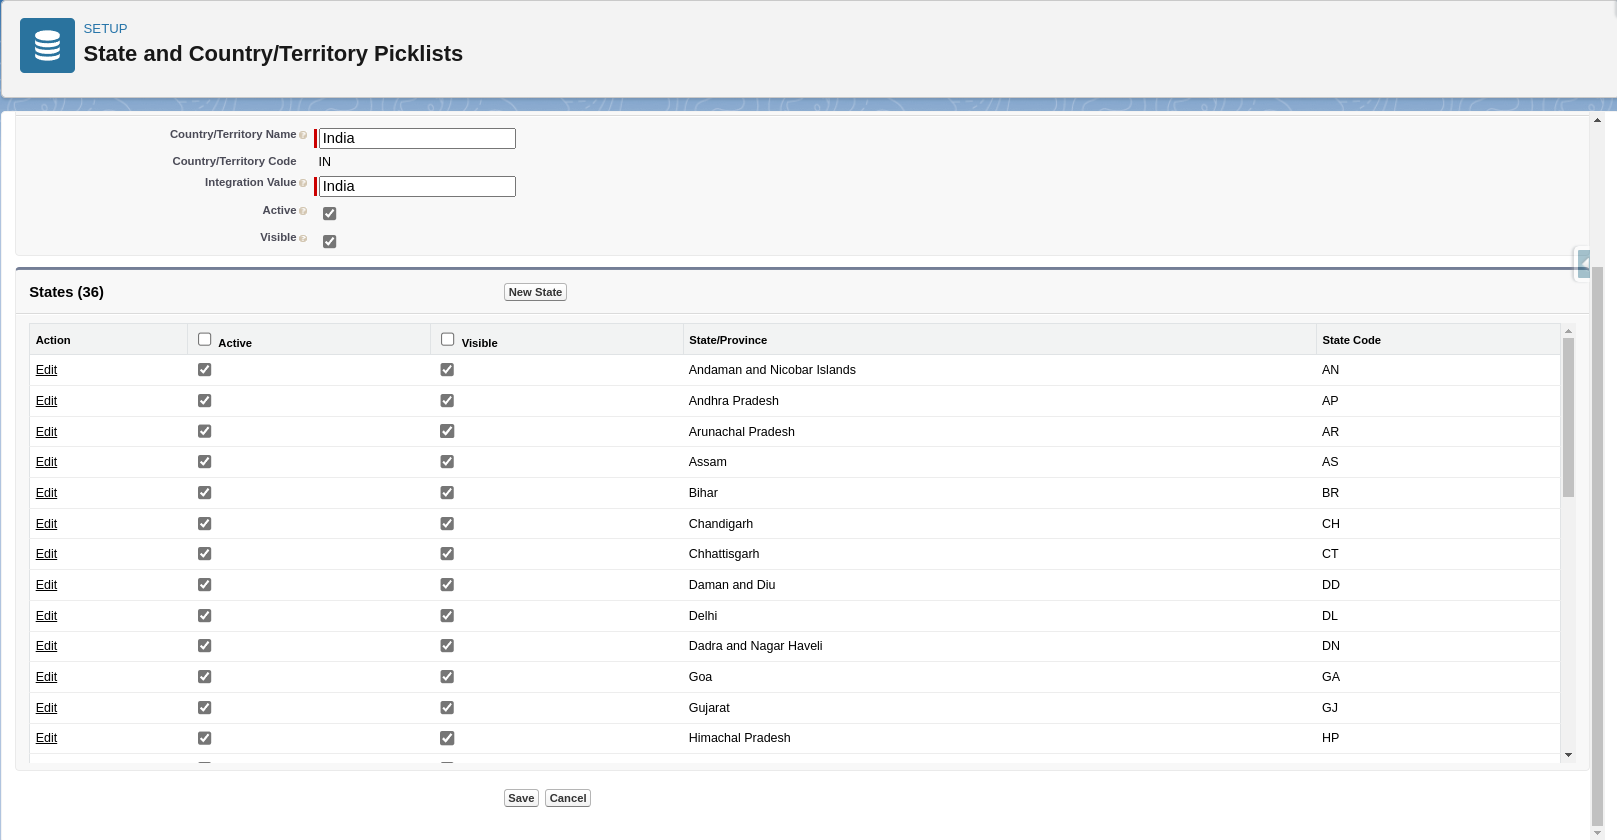
You can add new States or configure existing ones similar to countries/territories.
After configure, Click on save
Scan for State and Countries/Territories Data
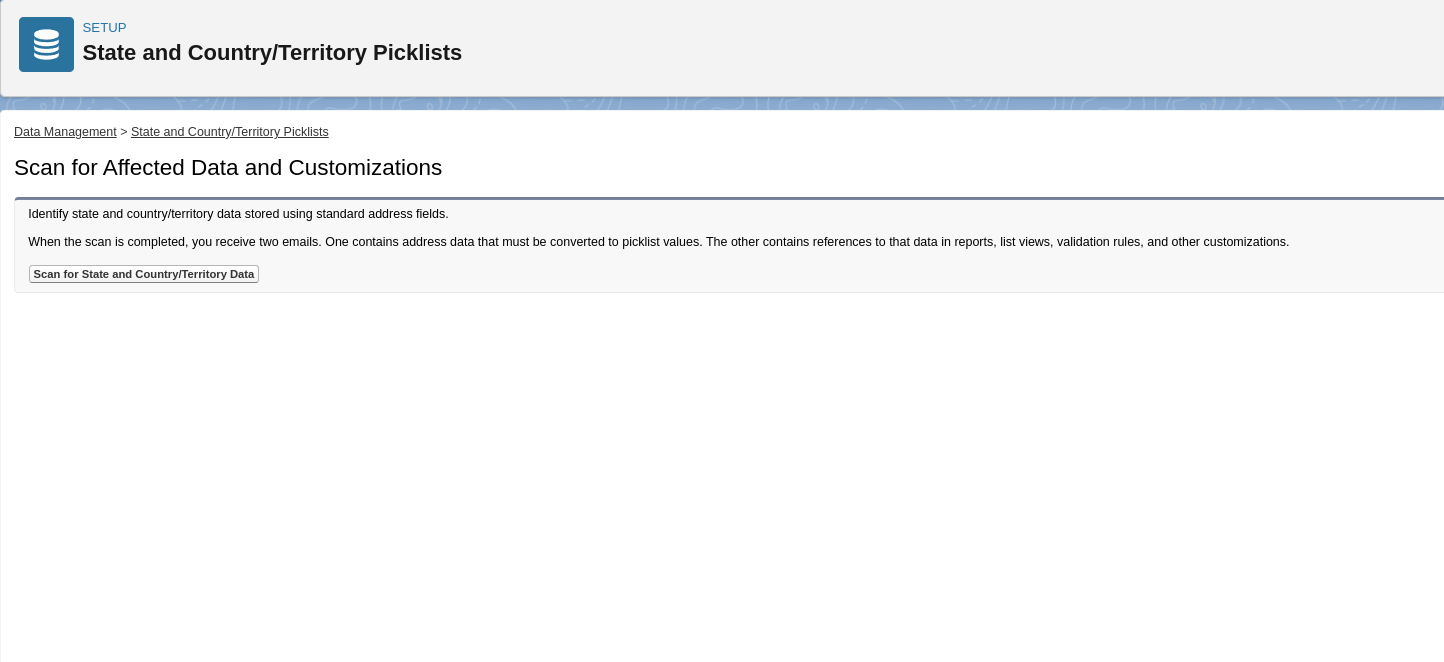
Select 2nd step as Scan for State and Countries/Territories Data from Enable State and Country/Territory Picklists.
Start process by click on Scan for State and Countries/Territories Data.
When the scan is completed, you receive two emails. One contains address data that must be converted to picklist values. The other contains references to that data in reports, list views, validation rules, and other customizations.
Convert Identified Data
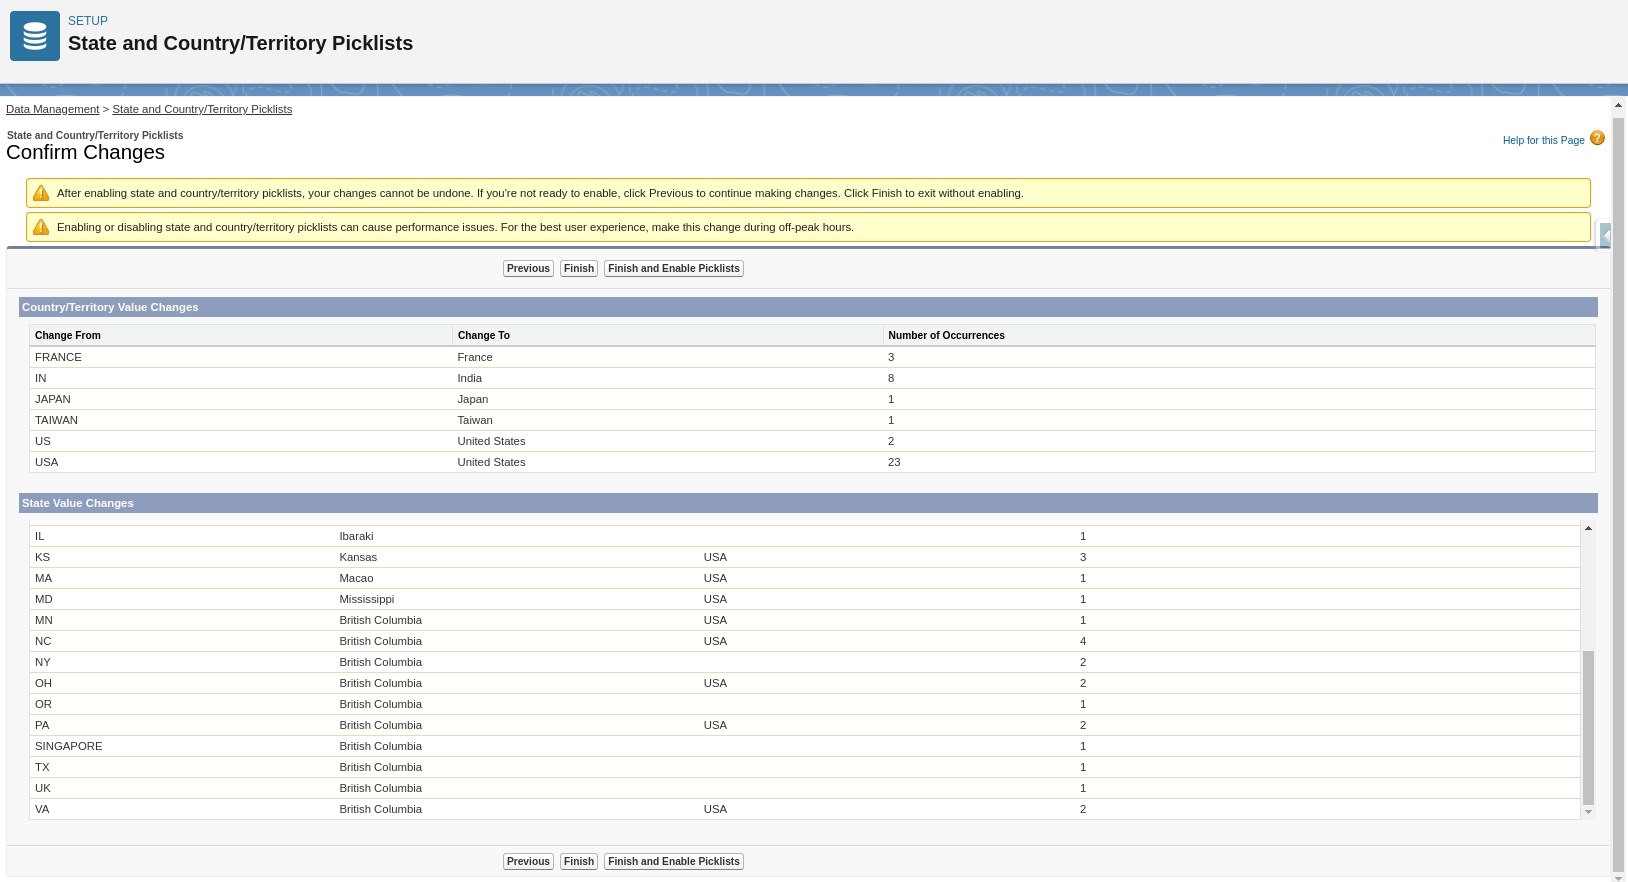
Select 3rd step as Convert Identified Data from Enable State and Country/Territory Picklists.
Map existing state and country/territory data in your records’ address fields to standardized picklist values.
Map country/territory values first, and then map state values.
After map country & states fields, Click on Finish and Enable Picklists.
Enabled Standard Address Fields
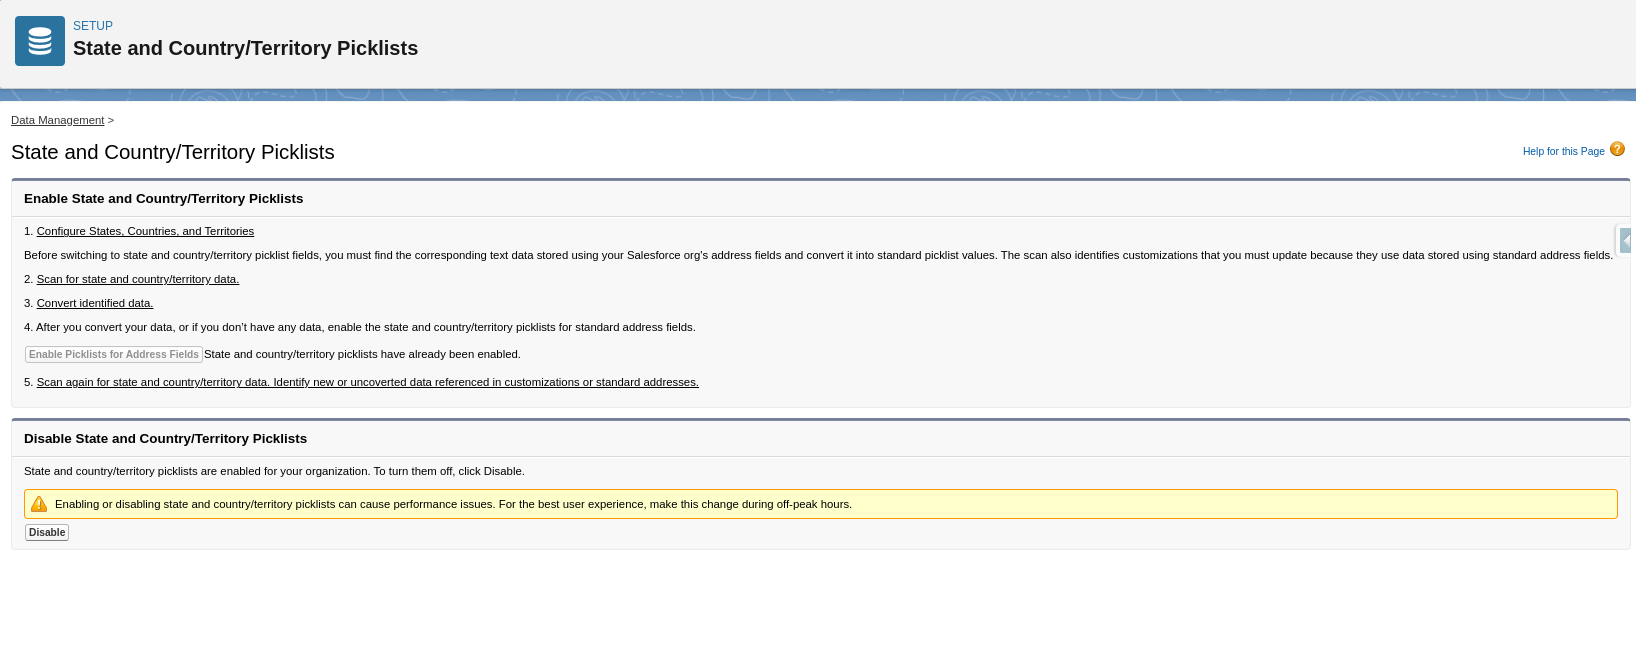
After completing steps, State and country/territory picklists are enabled for your organization.
Country
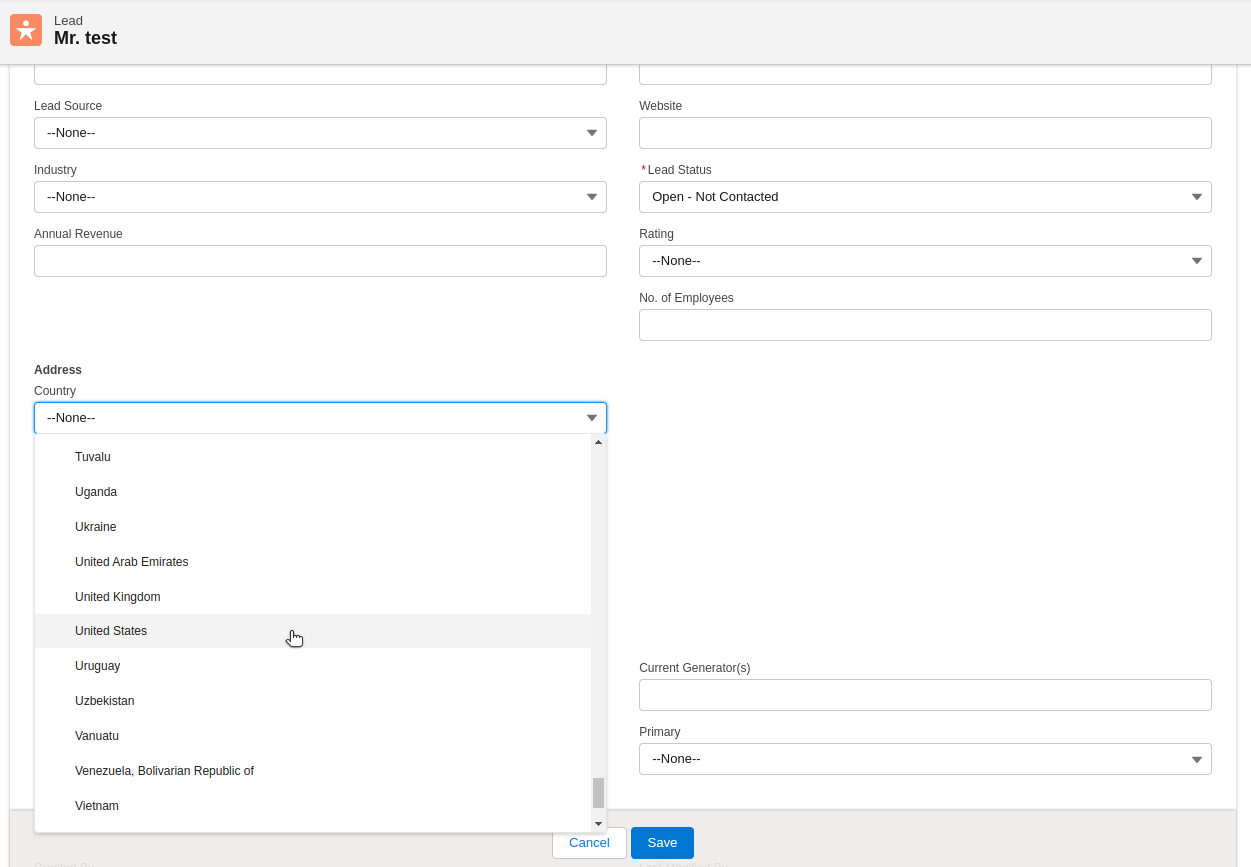
Let’s create a new lead to test the address fields. Upon doing so, we can observe that the country fields are displayed as a Picklist, providing a pre-defined list of options to choose from.
States/Province
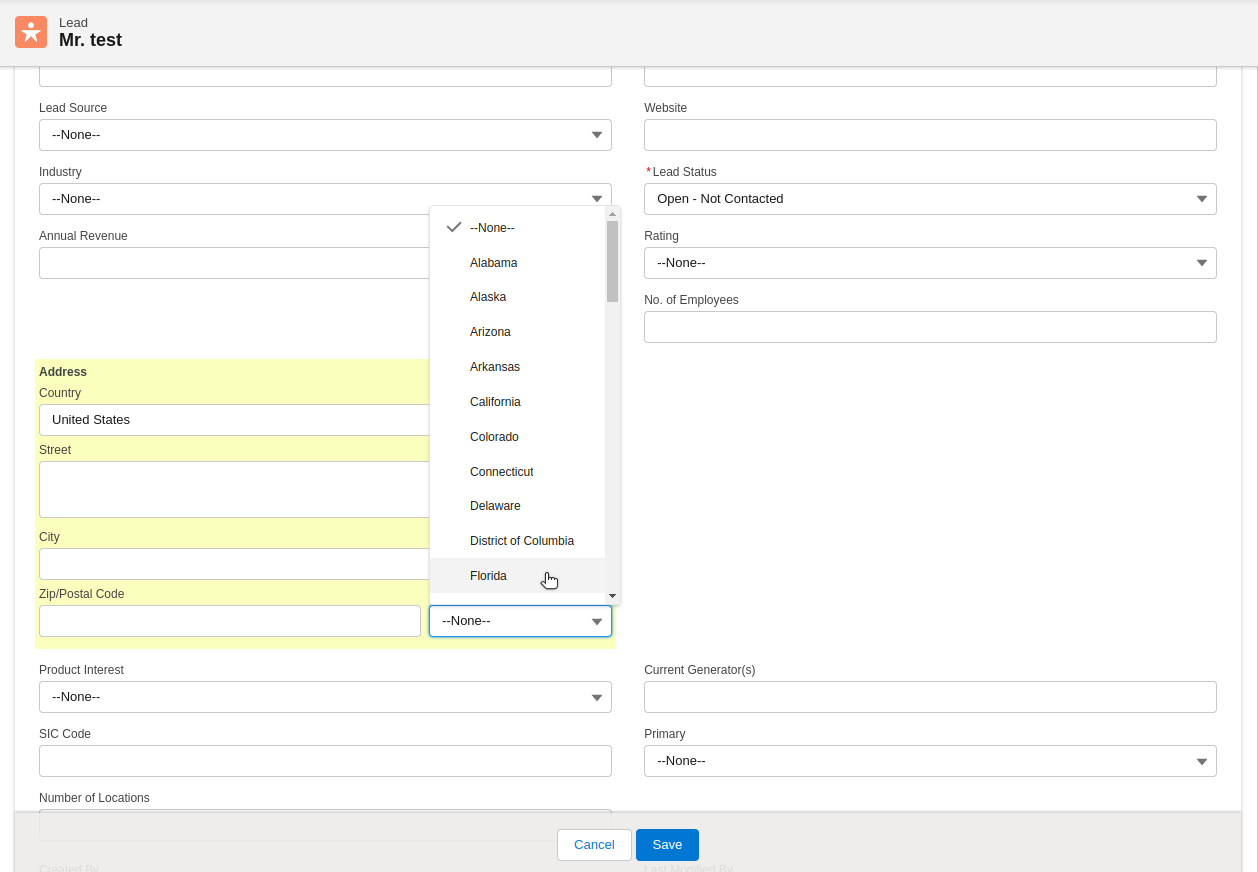
States/Province fields are displayed as a Picklist.
Conclusion
It’s all about setting things up right, keeping data clean, and making sure users know the drill. We’ve covered how to do this from start to finish, focusing on making everything work well together.
