Introduction
In today’s business world, creating professional and well-organized PDF layout is very important. But if the formatting isn’t set up correctly, the PDF can look messy. Content might not line up properly, or it could run off the page.
One common issue is not having clear and consistent headers and footers, which can make the document look unprofessional.
In this guide, we’ll explains how to implement headers, footers, and page breaks in PDF documents created with Salesforce.
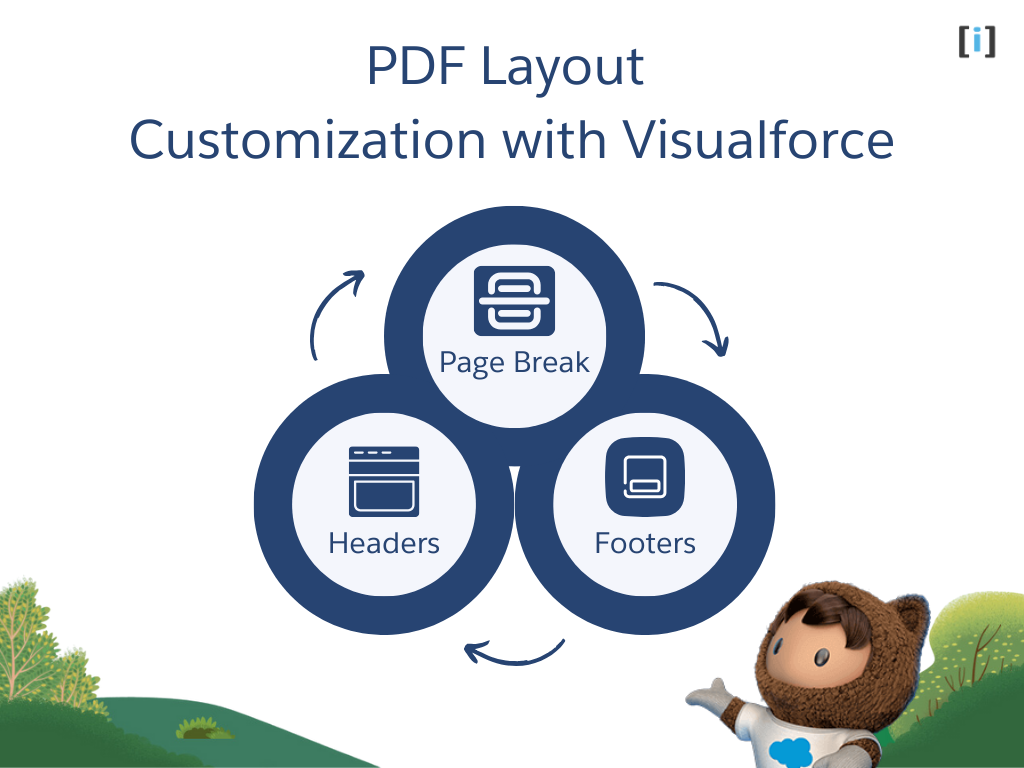
PDF Layout Customization with Visualforce

In Salesforce, there are different ways to make PDF documents in Salesforce. The most common way is by using something called a Visualforce page. You add the attribute renderAs="pdf" in the <apex:page> tag. Once set up, the PDF can be opened by clicking a custom button or link right inside Salesforce.
Learn how to generate a PDF in Salesforce with just a button click.
With Visualforce, you can fully customize your PDF using CSS (a way to style pages). For example, you can:
- Add page breaks
- Include headers and footers
- Set the page size
- Add page numbers
Visualforce gives developers a lot of control to design exactly how the PDF should look, by using the <apex:page> tag and applying custom styles with CSS.
In the next section, we’ll walk through how to implement headers and footers, manage page breaks, and even create repeating headers and footers that appear on every page. We’ll break it down step by step with clear examples to make it easy to follow.
Implementing Headers and Footers in Visualforce PDFs
When working with Visualforce PDFs, adding headers and footers is a common task that helps improve the document’s readability and presentation. They also make it easier for readers to find information and understand the content better.
To add headers and footers to a Visualforce PDF, you mainly use a special CSS rule called @page. This rule allows you to define styles specifically for the printed page. By writing this CSS inside the <style> tag in the <head> section of your Visualforce page,
You can put things like headers and footers exactly where you want. Below, we’ve simplified the creation process with a step-by-step guide:
Define Header and Footer Areas
To control exactly where your header and footer appear on the printed page, you can use the @page rule along with specific region properties. These properties define fixed areas at the top and bottom of each page layout:
Top of the Page
@top-left: positions content in the upper left corner@top-center: centers content at the top@top-right: places content in the upper right corner
Bottom of the Page
@bottom-right: places content in the lower right corner@bottom-left: positions content in the lower left corner@bottom-center: centers content at the bottom
@page {
    @top-center {
    }
    @bottom-center {
    }
}
These properties are used inside the @page CSS rule and help define where on the page your header or footer content will be rendered.
Link CSS to the HTML Content
Within your Visualforce page’s body, you’ll define <div> elements to hold the content for your header and footer. However, simply creating these elements isn’t enough, you also need to tell the browser where on the printed page these elements should appear.
To do this, you’ll use the CSS @page rule along with the content: element() property. This property allows you to reference a specific HTML element by its ID and insert its content into a designated area of the page, such as the header or footer.
Create the header and footer elements in your HTML:
<div class="header">
    <p>My Custom Header</p>
</div>

<div class="footer">
    <p>Page Footer Content</p>
</div>
Use CSS to map these elements to page regions:
@page {
    @top-center {
        content: element(header);
    }
    @bottom-center {
        content: element(footer);
    }
}
In this example:
The @top-center rule places the content from the <div class="header"> in the top center of each printed page.
The @bottom-center rule places the content from the <div in the bottom center of each page.class="footer">
Avoid Default Salesforce Styling
To make sure your custom styles apply correctly, add the applyBodyTag="false" attribute to your <apex:page> tag. This prevents Salesforce’s default body tag styles from interfering with your PDF layout:
<apex:page applyBodyTag="false">Add Dynamic Content
Inside the header and footer, you can include:
- Static text
- Dynamic data pulled from Salesforce using Apex
- Images (using the
<apex:image>tag to reference static resources)
You can also display page numbers by using the content: counter(page) function in CSS. For example, the following code will display the current page number and total pages in the footer:
<apex:page renderAs="pdf" applyBodyTag="false">
    <head>
        <style type="text/css">
            @page {
                @top-center {
                    content: element(header);
                }
                @bottom-center {
                    content: element(footer);
                }
            }

            .pageNumber:before {
               content: counter(page);
            }
            .totalPages:before {
               content: counter(pages);
            }

            body {
                font-family: Arial Unicode MS;
            }
        </style>
    </head>

    <body>
        <div class="header">
            My Company Name - Report Header
        </div>

        <div class="footer">
            Page <span class="pageNumber"></span> of <span class="totalPages"></span>
        </div>
    </body>
</apex:page>
Creating Repeating Headers and Footers in Visualforce
When generating PDFs from Visualforce pages, it’s often essential to have headers and footers that repeat consistently across every page.
To ensure that your header and footer appear consistently across all pages in the PDF output, you need to apply special CSS styling to the corresponding <div> elements. Specifically, use the position: running(name) property. Where name is a custom identifier (e.g., “header” or “footer”).
This CSS property marks an element to be used in a running header or footer, allowing its content to be referenced and repeated on every page.
<apex:page renderAs="pdf" applyBodyTag="false">
    <head>
        <style type="text/css">
            @page {
                @top-center {
                    content: element(header);
                }
                @bottom-center {
                    content: element(footer);
                }
            }

            .header {
                position: running(header);
            }

            .footer {
                position: running(footer);
            }
            .pageNumber:before {
               content: counter(page);
            }
            .totalPages:before {
               content: counter(pages);
            }

            body {
                font-family: Arial Unicode MS;
            }
        </style>
    </head>

    <body>
        <div class="header">
            My Company Name - Report Header
        </div>

        <div class="footer">
            Page <span class="pageNumber"></span> of <span class="totalPages"></span>
        </div>
    </body>
</apex:page>
position: running(header);tells the browser to treat this<div>as a reusable header.position: running(footer);does the same for the footer.
Controlling Page Breaks in Visualforce PDFs
Using page breaks in Visualforce PDFs is important for keeping your documents clean and easy to read. Without proper page breaks, content can be cut off or placed awkwardly across pages, which can make your PDF look unprofessional.
Visualforce lets you control page breaks using standard CSS properties. These give you flexibility when you’re building reports, invoices, or other printable documents.
Here are some useful CSS properties for managing page breaks:
page-break-after: always;
This forces a page break after the element it’s applied to.page-break-before: always;
This forces a page break before the element.page-break-inside: avoid;
This prevents a page break inside an element (like a table row or paragraph), keeping the whole element on the same page.
<apex:page renderAs="pdf" applyBodyTag="false">
    <head>
        <style type="text/css">
            @page {
                @top-center {
                    content: element(header);
                }
                @bottom-center {
                    content: element(footer);
                }
            }

            .header {
                position: running(header);
            }

            .footer {
                position: running(footer);
            }

            .pageNumber:before {
                content: counter(page);
            }

            .totalPages:before {
                content: counter(pages);
            }

            .page-break {
                page-break-after: always;
            }

            body {
                font-family: Arial Unicode MS;
            }
        </style>
    </head>

    <body>
        <!-- Header content -->
        <div class="header">
            My Company Name - Report Header
        </div>

        <!-- Footer content -->
        <div class="footer">
            Page <span class="pageNumber"></span> of <span class="totalPages"></span>
        </div>

        <!-- Main content of the PDF -->
        <h1>Hello, this is a PDF!</h1>
        <p>More content here...</p>

        <!-- Force a page break here -->
        <div class="page-break">
           <p>Page break here</p>
        </div>

        <p>Add content...</p>
    </body>
</apex:page>
A <div class="page-break"></div> placed between two sections of content to force a new page.
You can reuse that page-break class wherever you need to push content to a new page in your PDF.
Handling Page Breaks in Loops
When using loops like <apex:repeat> to display a list of records, you may notice that a blank page sometimes appears at the end of the PDF. This usually happens because page-break-after: always; is applied to every item, including the last one.
To fix this:
- Use conditional rendering to skip the page break on the last item.
- Use a counter variable to check when you’re on the final record.
- Alternatively, use an empty
<div>with thepage-break-after: always;style only where needed.
Working Example of Visualforce Page with Header, Footer, and Page Breaks
The following Visualforce page demonstrates how to render a PDF with a custom header and footer using CSS, along with forced page breaks.
<apex:page renderAs="pdf" applyBodyTag="false">
    <head>
        <style type="text/css">
            @page {
                margin-top: 150px;
                margin-bottom: 60px;

                @top-center {
                    content: element(header);
                }
                @bottom-center {
                    content: element(footer);
                }
            }

            .header {
                position: running(header);
                text-align: center;
            }

            .footer {
                position: running(footer);
            }

            .pageNumber:before {
                content: counter(page);
            }

            .totalPages:before {
                content: counter(pages);
            }

            .page-break {
                page-break-after: always;
            }

            body {
                font-family: Arial Unicode MS;
            }
        </style>
    </head>
    <body>
        <!-- Header content -->
        <div class="header">
            <h1> My Company Name - Report Header</h1>
        </div>

        <!-- Footer content -->
        <div class="footer">
            Page <span class="pageNumber"></span> of <span class="totalPages"></span>
        </div>

        <h2 style="text-align: center;">Monthly Sales Report</h2>
        <p>
            This report provides an overview of the sales performance for the month of March 2025.
            It includes key metrics such as total revenue, top-performing products, regional sales
            distribution, and monthly trends.
        </p>

        <h2>Executive Summary</h2>
        <p>
            March 2025 saw a 12% increase in overall sales compared to February. The Northeast region
            contributed the highest to revenue, with a strong performance in electronics and home
            appliances. Online sales channels continued to outperform retail outlets.
        </p>

        <h2>Key Metrics</h2>
        <ul>
            <li><strong>Total Revenue:</strong> $1,250,000</li>
            <li><strong>New Customers:</strong> 870</li>
            <li><strong>Returning Customers:</strong> 1,430</li>
            <li><strong>Top Product:</strong> Smart Thermostat</li>
        </ul>

        <div class="page-break"></div>

        <h2 style="text-align: center;">Regional Sales Breakdown</h2>
        <p>
            The following table illustrates sales by region:
        </p>
        <table border="1" cellpadding="5" cellspacing="0">
            <tr>
                <th>Region</th>
                <th>Revenue</th>
                <th>Growth (%)</th>
            </tr>
            <tr>
                <td>Northeast</td>
                <td>$450,000</td>
                <td>+15%</td>
            </tr>
            <tr>
                <td>Southeast</td>
                <td>$320,000</td>
                <td>+10%</td>
            </tr>
            <tr>
                <td>Midwest</td>
                <td>$210,000</td>
                <td>+8%</td>
            </tr>
            <tr>
                <td>West</td>
                <td>$270,000</td>
                <td>+12%</td>
            </tr>
        </table>

        <h2>Conclusion</h2>
        <p>
            March 2025 was a successful month across all key performance indicators. Continued investment
            in digital marketing and customer service is recommended to sustain growth.
        </p>
    </body>
</apex:page>
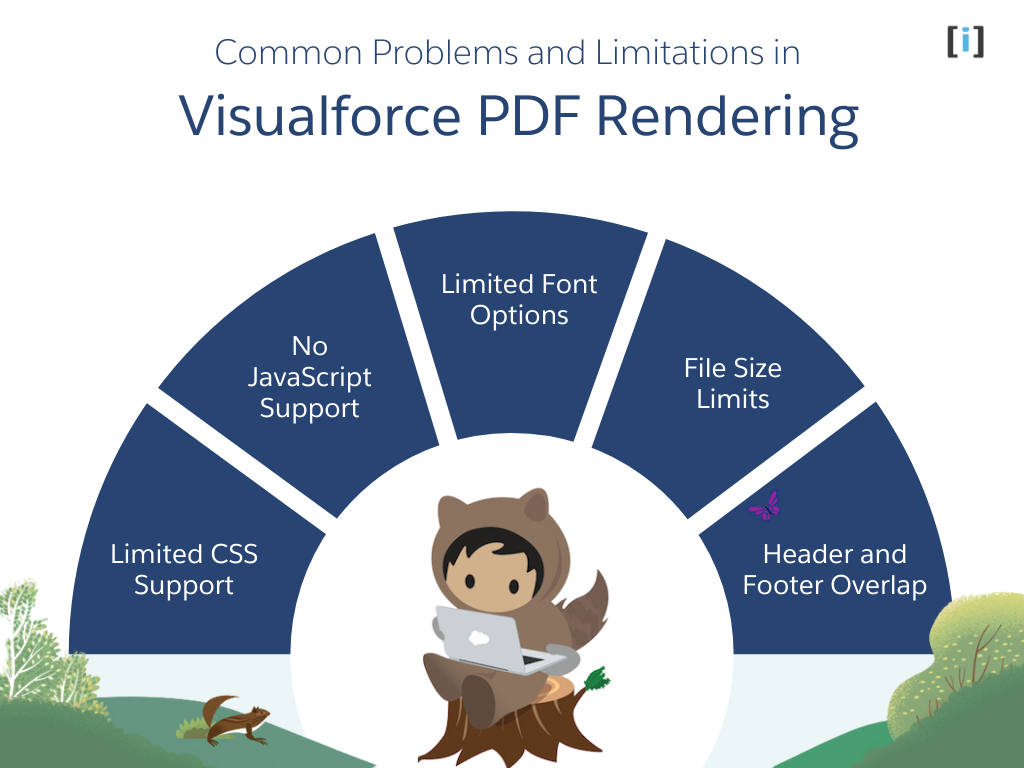
Common Problems and Limitations in Visualforce PDF Rendering

Visualforce makes it simple to create PDFs in Salesforce, but there are some important limits you should know about. Here’s a breakdown of the main issues and how to handle them:
Limited CSS Support
Visualforce PDF rendering supports only CSS version 2.1. This means many CSS3 features may not work correctly. Keep your styling simple and stick to the basics for the best results.
No JavaScript Support
JavaScript does not run when a Visualforce page is converted into a PDF. So, if your page includes features like interactive buttons, drop-downs, or dynamic content that depends on JavaScript, they won’t work in the final PDF.
Limited Font Options
Only a few fonts are supported in Visualforce PDFs:
- Arial Unicode MS
- Helvetica
- Times
- Courier
Out of these, Arial Unicode MS is the best for international text or special symbols, as it supports a wide range of characters. Using other fonts could lead to missing or broken text in the PDF.
File Size Limits
There are some important size restrictions to remember:
- HTML content must be under 15 MB before conversion.
- The final PDF file must not be more than 60 MB.
- All images together must stay under 30 MB total.
If these limits are exceeded, the PDF generation may fail with errors.
Header and Footer Overlap
Sometimes, the main content overlaps with the header or footer in the PDF. This usually happens when not enough space is given for those areas.
To avoid this, use CSS padding or margin adjustments to make sure your content is well spaced and doesn’t clash with the header or footer.
Tips for Designing Salesforce PDF Layout
To make your PDF designs in Salesforce more effective and easier to manage, follow these tips:
Use Supported Fonts
Always use the fonts supported by Visualforce to avoid rendering problems. If your PDFs need to show special characters (like in other languages), stick with Arial Unicode MS for the best results.
Optimize Your Images
Keep image file sizes small. This helps your PDF load faster and stay within the 30 MB image limit. Use web-optimized images whenever possible.
Keep Layouts Clear and Consistent
Keep your headers and footers the same on every page to make your document look professional. Also, think about accessibility, like using readable fonts, good color contrast, and a clear structure so everyone, including people using screen readers, can understand your content.
Test and Improve Performance
Always test your PDFs with different types of data to make sure everything looks right. Also, keep an eye on how long it takes to generate them. Use simple layouts and clean code to make things run faster.
Conclusion
Designing clean and well-structured PDFs from Visualforce pages in Salesforce is important if you want your documents to look professional and be easy to read.
By using headers, footers, and page breaks the right way, you can make sure your PDFs are well-organized and look good. This not only makes your documents more presentable but also gives a better experience to your clients and team members.
FAQs
Can I use dynamic data like page numbers or date/time in headers and footers of a Visualforce PDF?
Yes. You can use Apex variables or merge fields within your Visualforce page to include dynamic data.
Can we use JavaScript in Visualforce PDFs for layout control?
No, JavaScript doesn’t work in Visualforce PDFs. When the page is rendered as a PDF, any JavaScript is ignored. You’ll need to use only HTML and CSS for layout and styling. If you need to include dynamic content, it has to be done using Apex or merge fields on the server side.
Can I stop a section, like a table, from being split across pages in a Visualforce PDF?
Yes, you can. This is especially useful for things like invoice tables or summaries. To prevent a section from breaking across pages, use the CSS property page-break-inside: avoid;. Just wrap the table or section in a <div> with that style applied.
Why doesn’t my page break always work as expected?
Page break issues often happen because of things like nested elements (e.g., tables) or unclosed HTML tags. Make sure to test your layout with different content sizes. Also, apply page-break-after: always; only to block-level elements (like <div> or <p>), as using it on inline elements can lead to unexpected results.
Is there a difference between renderAs="pdf" and other rendering options?
Yes, there is a difference. Using renderAs="pdf" tells Salesforce to render the Visualforce page as a PDF, which changes how the page’s CSS and HTML are handled. For example, some things like floating elements or responsive design may not work the same way in the PDF as they do in the regular HTML view.
