
Implementing Salesforce Live Agent chat on your website and Salesforce account takes just few minutes. But the benefits for your business are huge:
- 20% or higher increase in conversions from improved engagement
- Faster problem resolution with customers
- Reduced support tickets and calls
- Deeper sales conversations to close more deals
With its robust tracking, integration, and analytics capabilities, Live Agent meets the needs of enterprises and SMBs alike.
In this guide, you’ll walk through all the pivotal steps to effortlessly set up Salesforce Live Agent. From initial configuration to establishing operators and embedding chat widgets, you’ll be guided through everything necessary to satisfy customers with real-time assistance in under 10 minutes.
No technical expertise needed – follow this simplified process to enjoy the many rewards an efficient live chat platform can deliver. By the end, you’ll have a deeper understanding of:
- Getting Live Agent access and reviewing settings
- Creating skilled teams of chat agents
- Embedding slick chat interfaces on your site
Now let’s get started on leveling up your business with Salesforce Live Agent!
How to Set Up Salesforce Live Agent in Salesforce
Total Time: 10 minutes
Access Service Setup
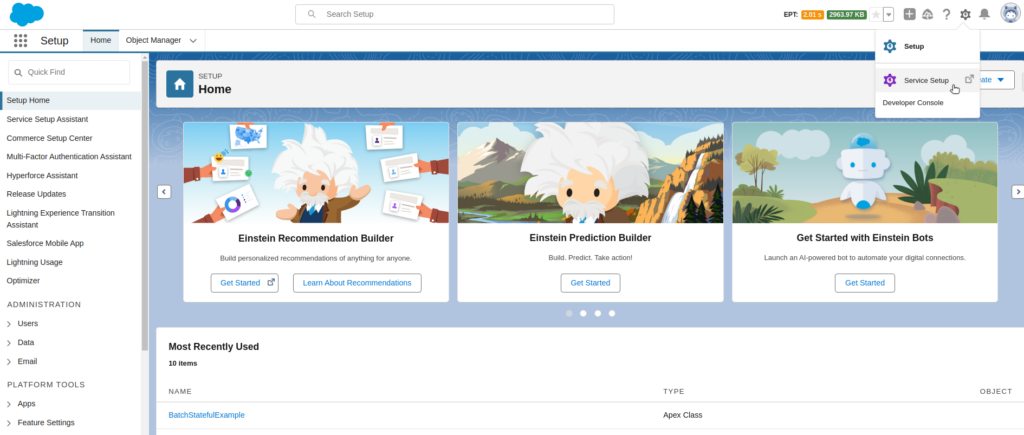
Log into your Salesforce account and go to Service Setup.
Go to Recommended Setup
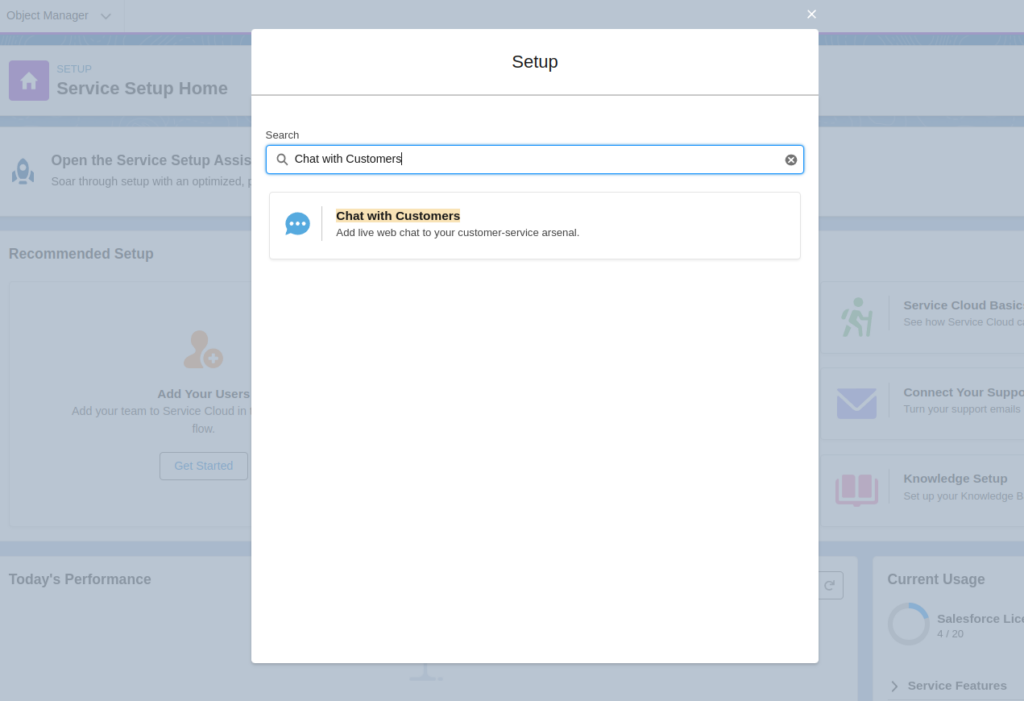
In Service Setup, click View All under Recommended Setup.
Click the tile for Chat with Customers.
Start Configure Web Based Chat
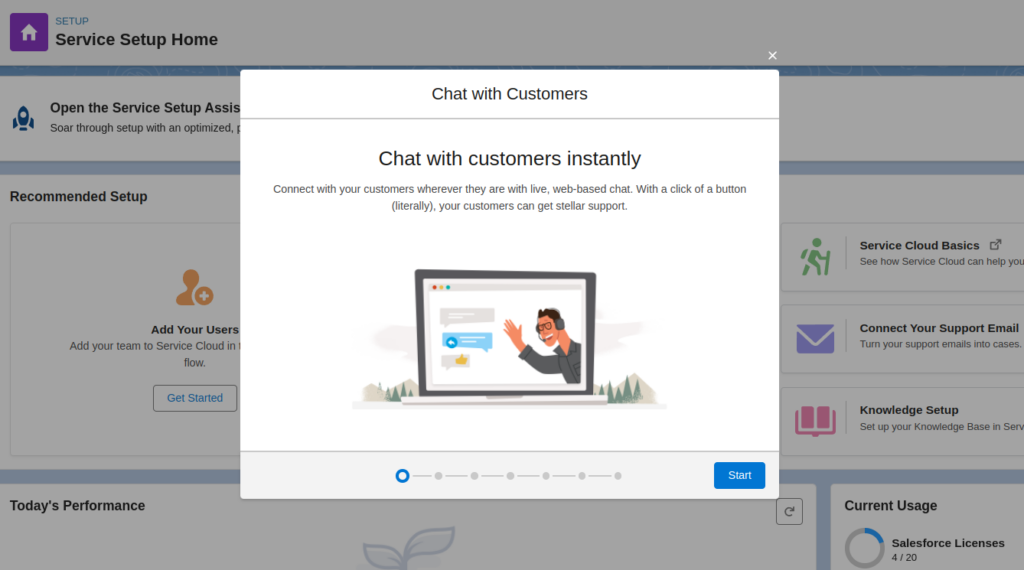
This will launch the Live Agent configuration wizard.
On the Chat with Customers page, click the Start button.
Create a Chat Queue
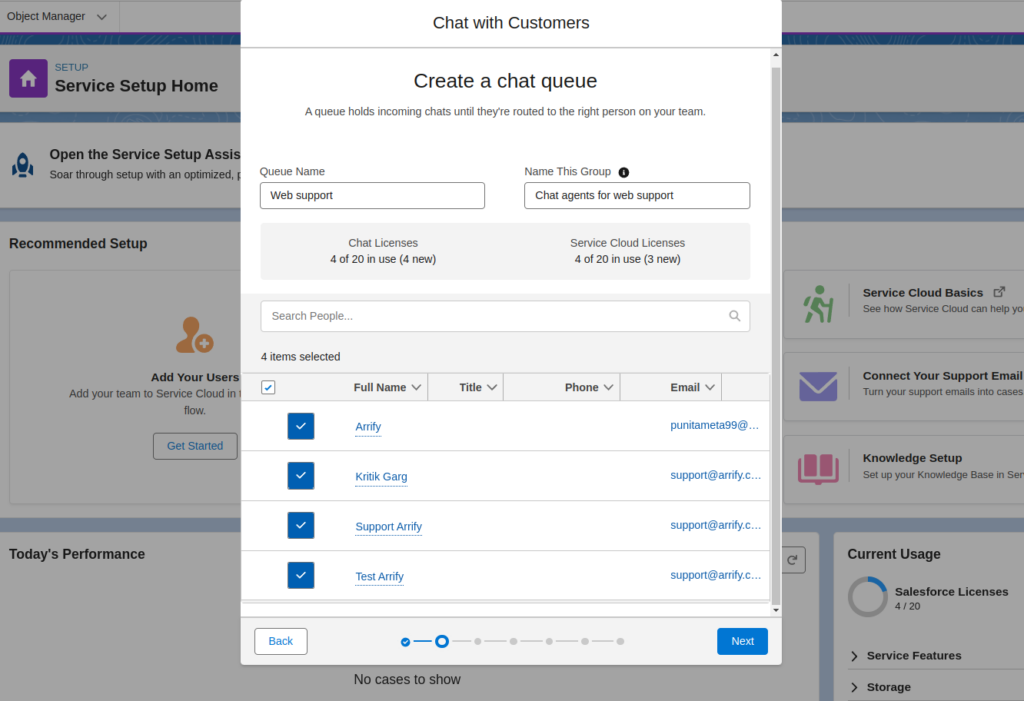
A queue holds incoming chats until they’re routed to the right person on your team.
Enter a Queue Name, i.e. “Web Support“.
Adjust Chat Workload Limits
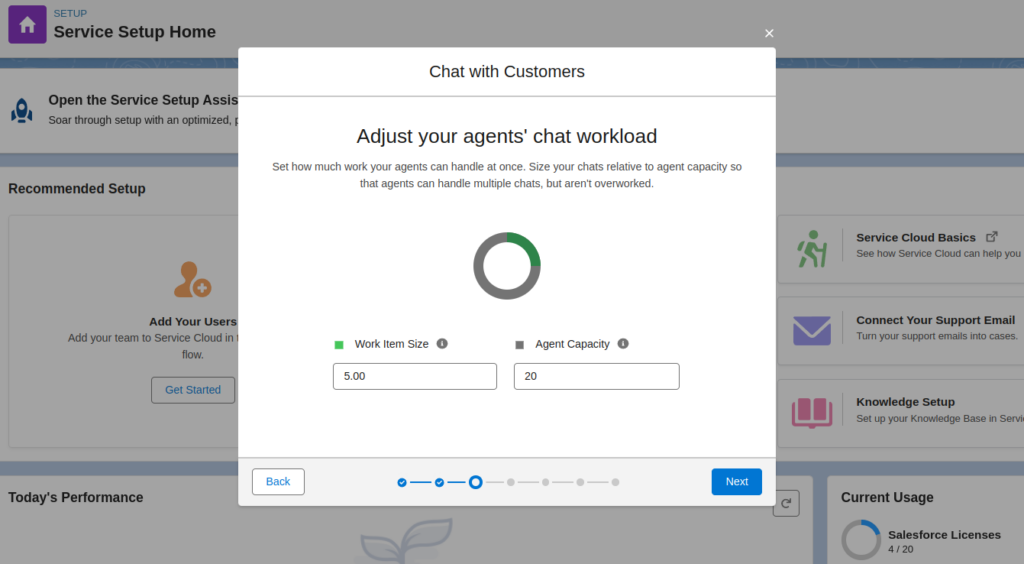
Determine the capacity of your agents to manage simultaneous tasks. Adjust the volume of chats in proportion to agent capabilities to ensure they can manage multiple interactions without becoming overwhelmed.
Provide Website URL
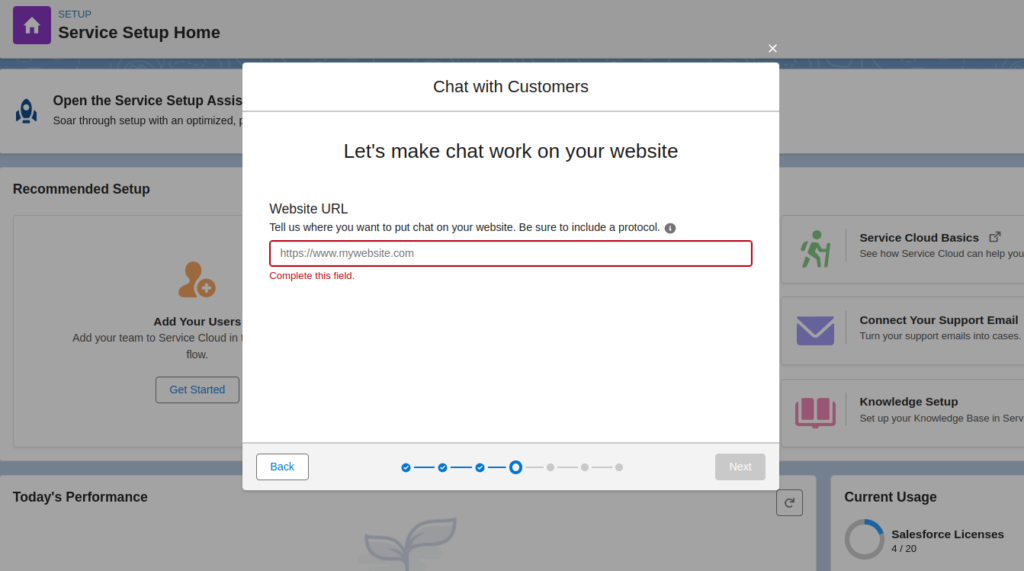
Enter the URL of the website where you wish to embed this chat.
Choose Type
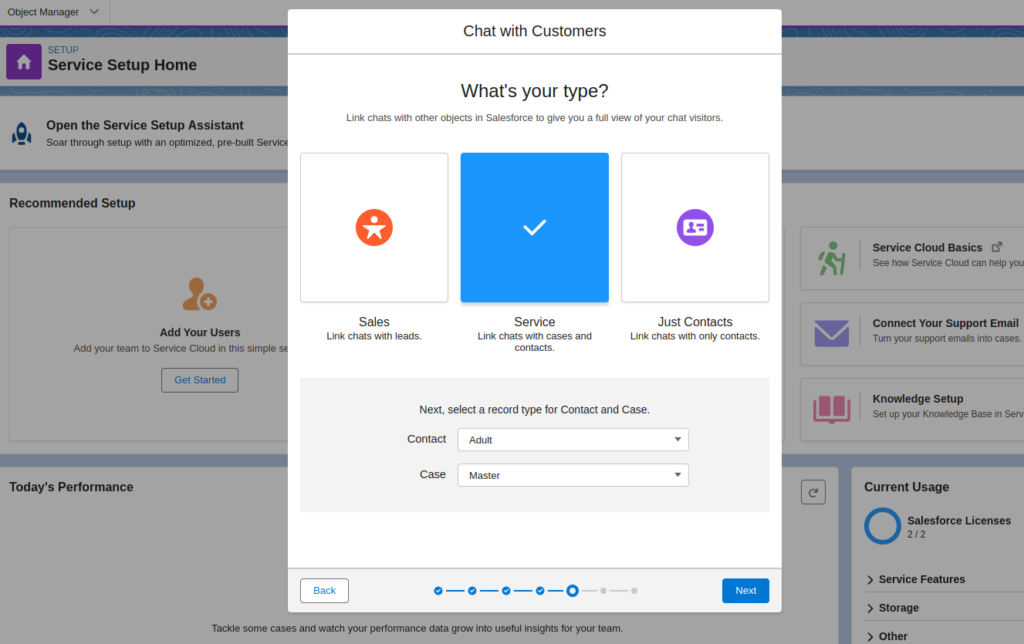
Link your chats to Salesforce objects, like Contact and Case, to automatically generate records for each.
Configure Offline support
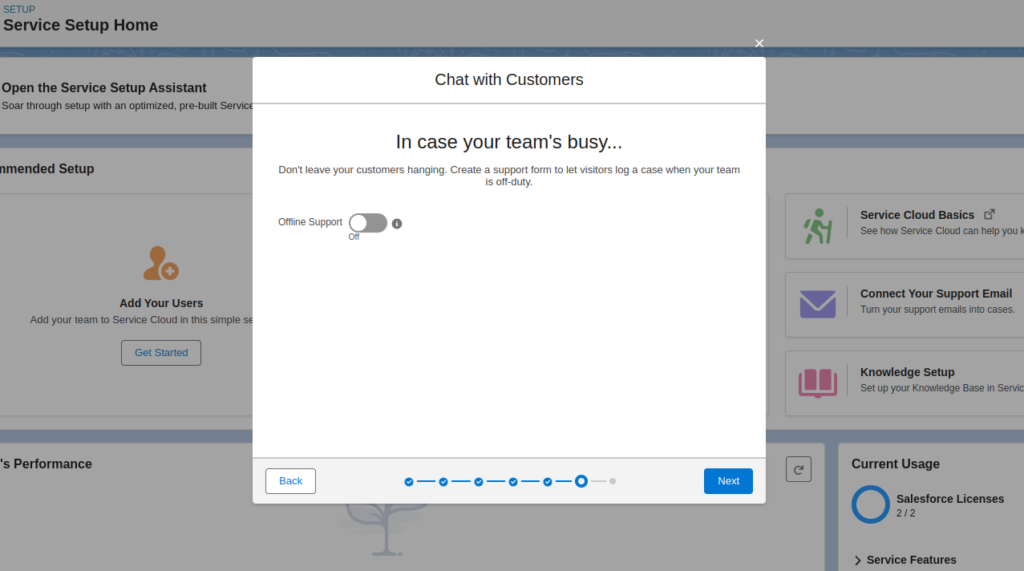
Set up a support form so visitors can submit a case when your team isn’t available. We won’t be configuring this service at the moment.
Finish configuration
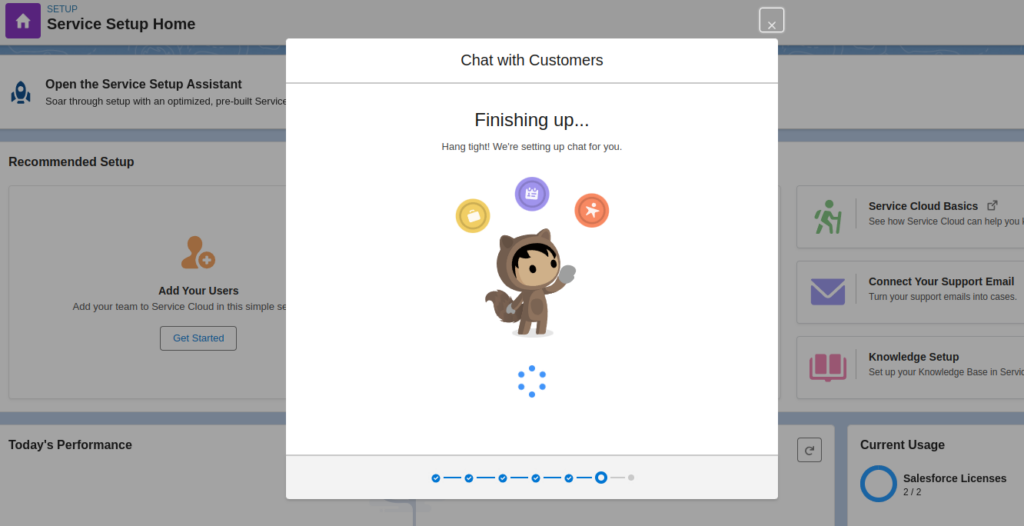
The setup wizard will now work to finalize configurations. This can take some time to complete.
Grab Code Snippet
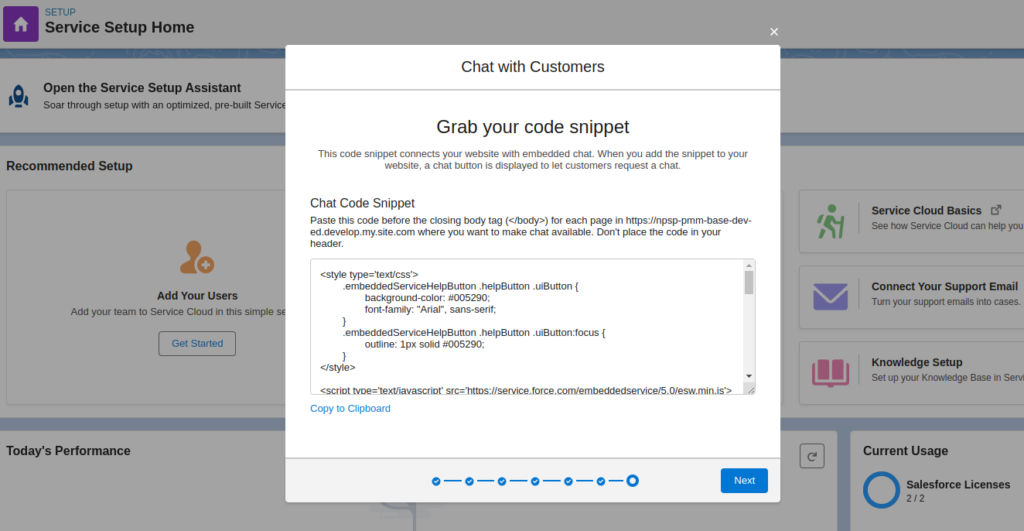
Once finished, copy the generated Chat Code Snippet.
This can be added to websites later to deploy chat.
Complete Live Agent Configuration
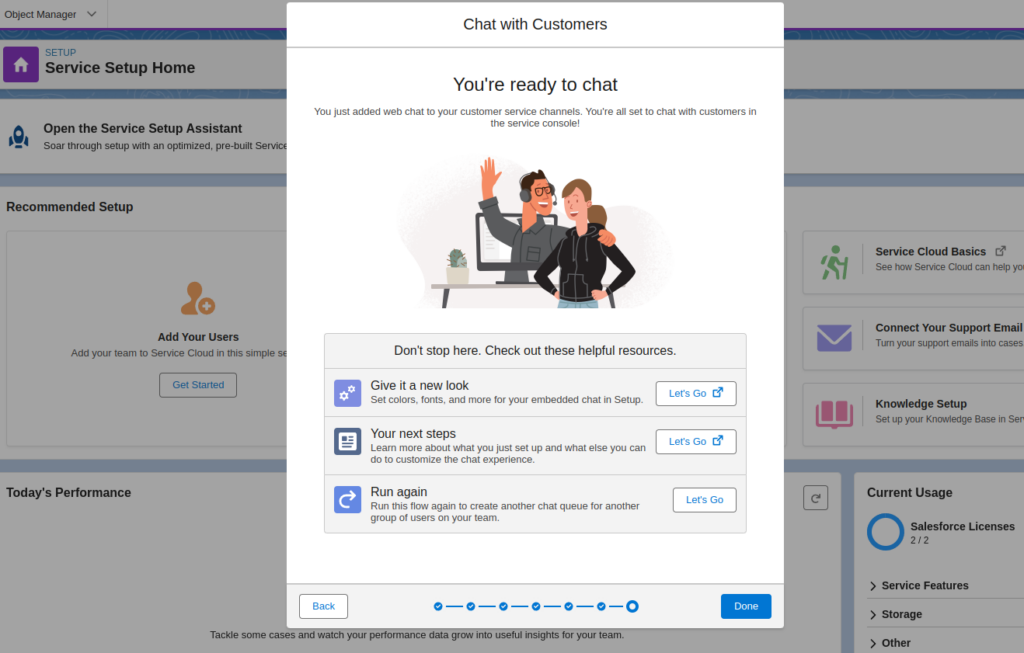
This screen says that you have setup the live agent for the customers.
Next, check out How to Connect Live Agent Chat to Service Cloud Console
Conclusion
Implementing Live Agent chat takes just minutes but delivers immense value. With this guide, you now have all the key steps to configure Live Agent, build chat teams, and embed intuitive chat widgets.
By improving real-time engagement, your business is primed to boost conversions, expedite issue resolution, minimize contacts, and capture more sales opportunities. The benefits of live chat are clear and set your customer service apart.

Leave a Reply